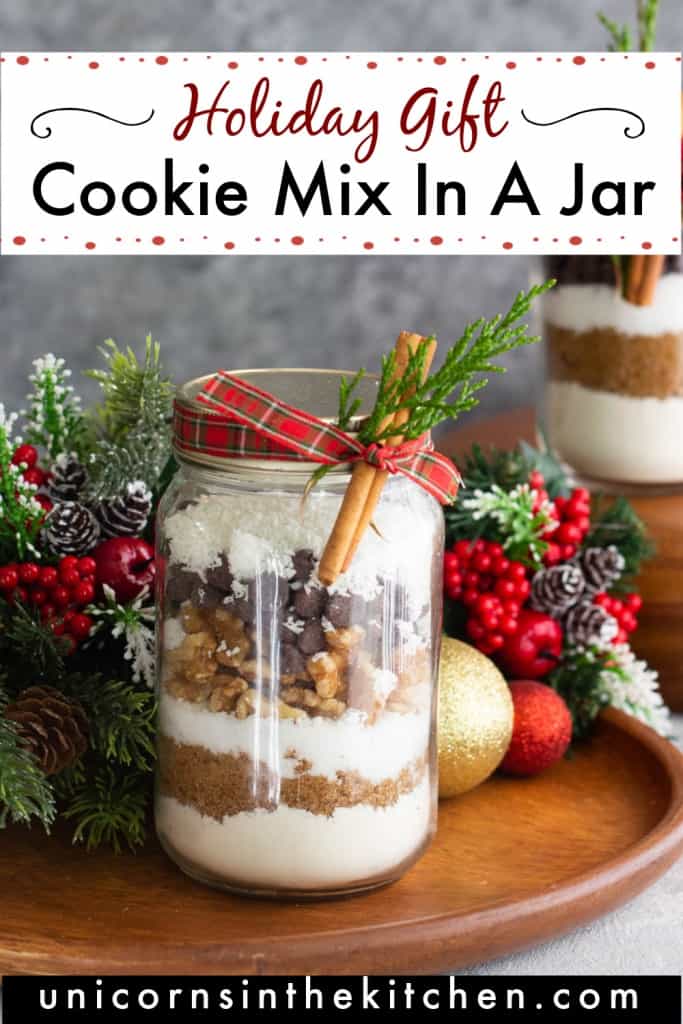
DIY Cookie Mix In A Jar – A Fun Gift For The Holidays!
Dec 09, 2020, Updated Jan 15, 2021
This post may contain affiliate links.
This is a sponsored post written by me on behalf of Safeway. All opinions are 100% mine.
Here is a 15-minute tutorial for DIY cookie mix that you can customize to your liking. If you’re looking for a fun gift idea for the holidays, give a jar of homemade cookie mix to your favorite foodie!
This year, the holidays are going to be different but that doesn’t mean gifting isn’t going to be fun. Baking cookies and enjoying Christmas desserts is one of our favorite holiday traditions, and now instead of gathering and making our favorite cookies such as oatmeal walnut cookies and thumbprint cookies, we are giving out homemade cookie mix in a jar! The foodie in your life is going to love this cookie mix. It’s so easy to put together and there are many ways to personalize it!
Table of Contents
DIY Cookie Mix – Perfect for gifting!
Everyone loves a good cookie. Especially if it’s warm and chewy with crispy edges – so good! Yes, cookie mixes are convenient and all, but nothing beats homemade cookies! I love gifting this homemade cookie mix for a few good reasons:
- It lasts for quite a while, so there’s no problem if they want to save it for later.
- You can customize this recipe to your foodie’s liking. Do they like cranberries? Add some! Not a coconut fan, leave it out!
- Homemade gifts always come with a sense of joy. Your friends and family will appreciate the effort and love you put into a thoughtful gift.

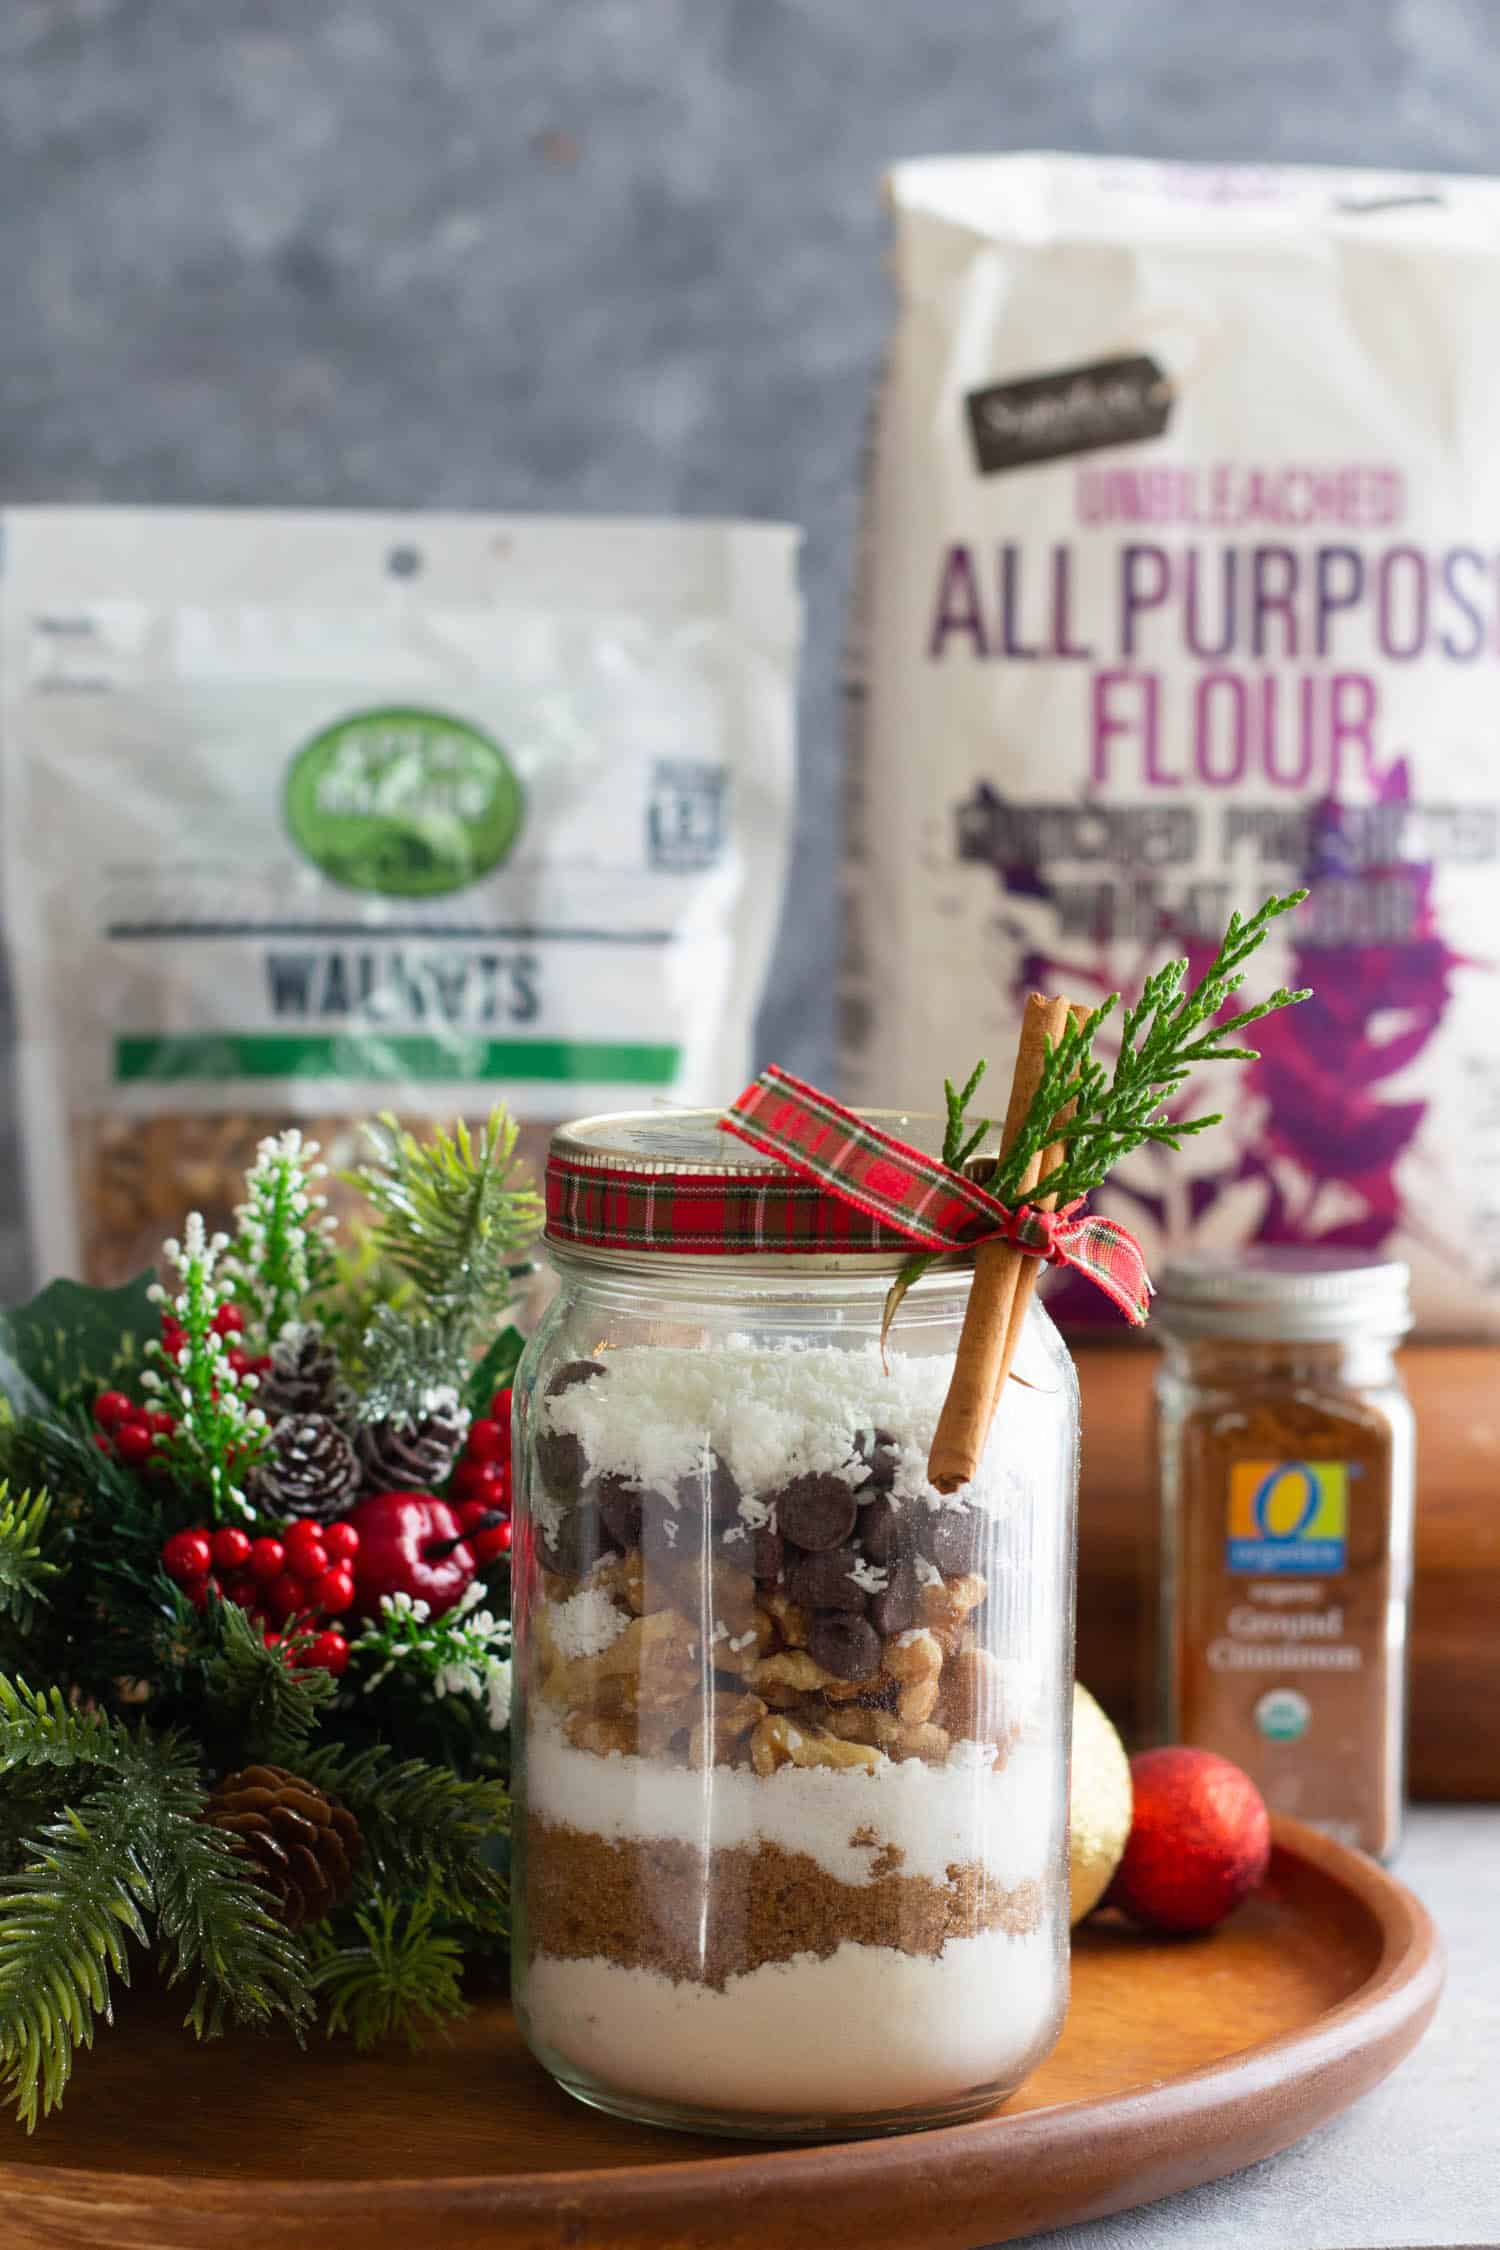
Ingredients
Base
The base of this DIY cookie mix is going to be flour, baking powder, baking soda, salt and sugars. The ratios are mentioned in the recipe and no matter what kind of cookie mix you’re putting together, this base is going to be the same.
Additions to make each mix unique
For this part, you can use anything including chocolate chips, walnuts, shredded coconut, cranberries, pecans, white chocolate chips, dried fruit or even candy! This is where your creativity comes in, think about what they like and add that to make this cookie mix unique them!
Gifting tip: Want to make this gift even more special? Get them a a debi lilly design™ bouquet of flowers or a candle that will brighten up their day! I attended an online event last week and learned so much from Debi. Using her tips and tricks, I know our flowers last so much longer this holiday season!
You can find beautiful, high-quality seasonal gifting and home décor products as well as holiday baking and cooking essentials exclusively at your local Safeway store. ABSCo’s exclusive brands offer everything you need to create your favorite holiday recipes, all at a value. For gifting and creating special moments with family and friends this year, you can find great products you are proud to enjoy and share with your family and friends in-store or online at Safeway. I shopped at Safeway, but you can also find these products at the Albertsons Companies family of stores, including Albertsons, Safeway, ACME Markets, Jewel-Osco, Randalls, Shaw’s Supermarket, Star Market, Tom Thumb and Vons. Safeway also offers Grocery Delivery and DriveUp & Go™ for convenient ways to shop!

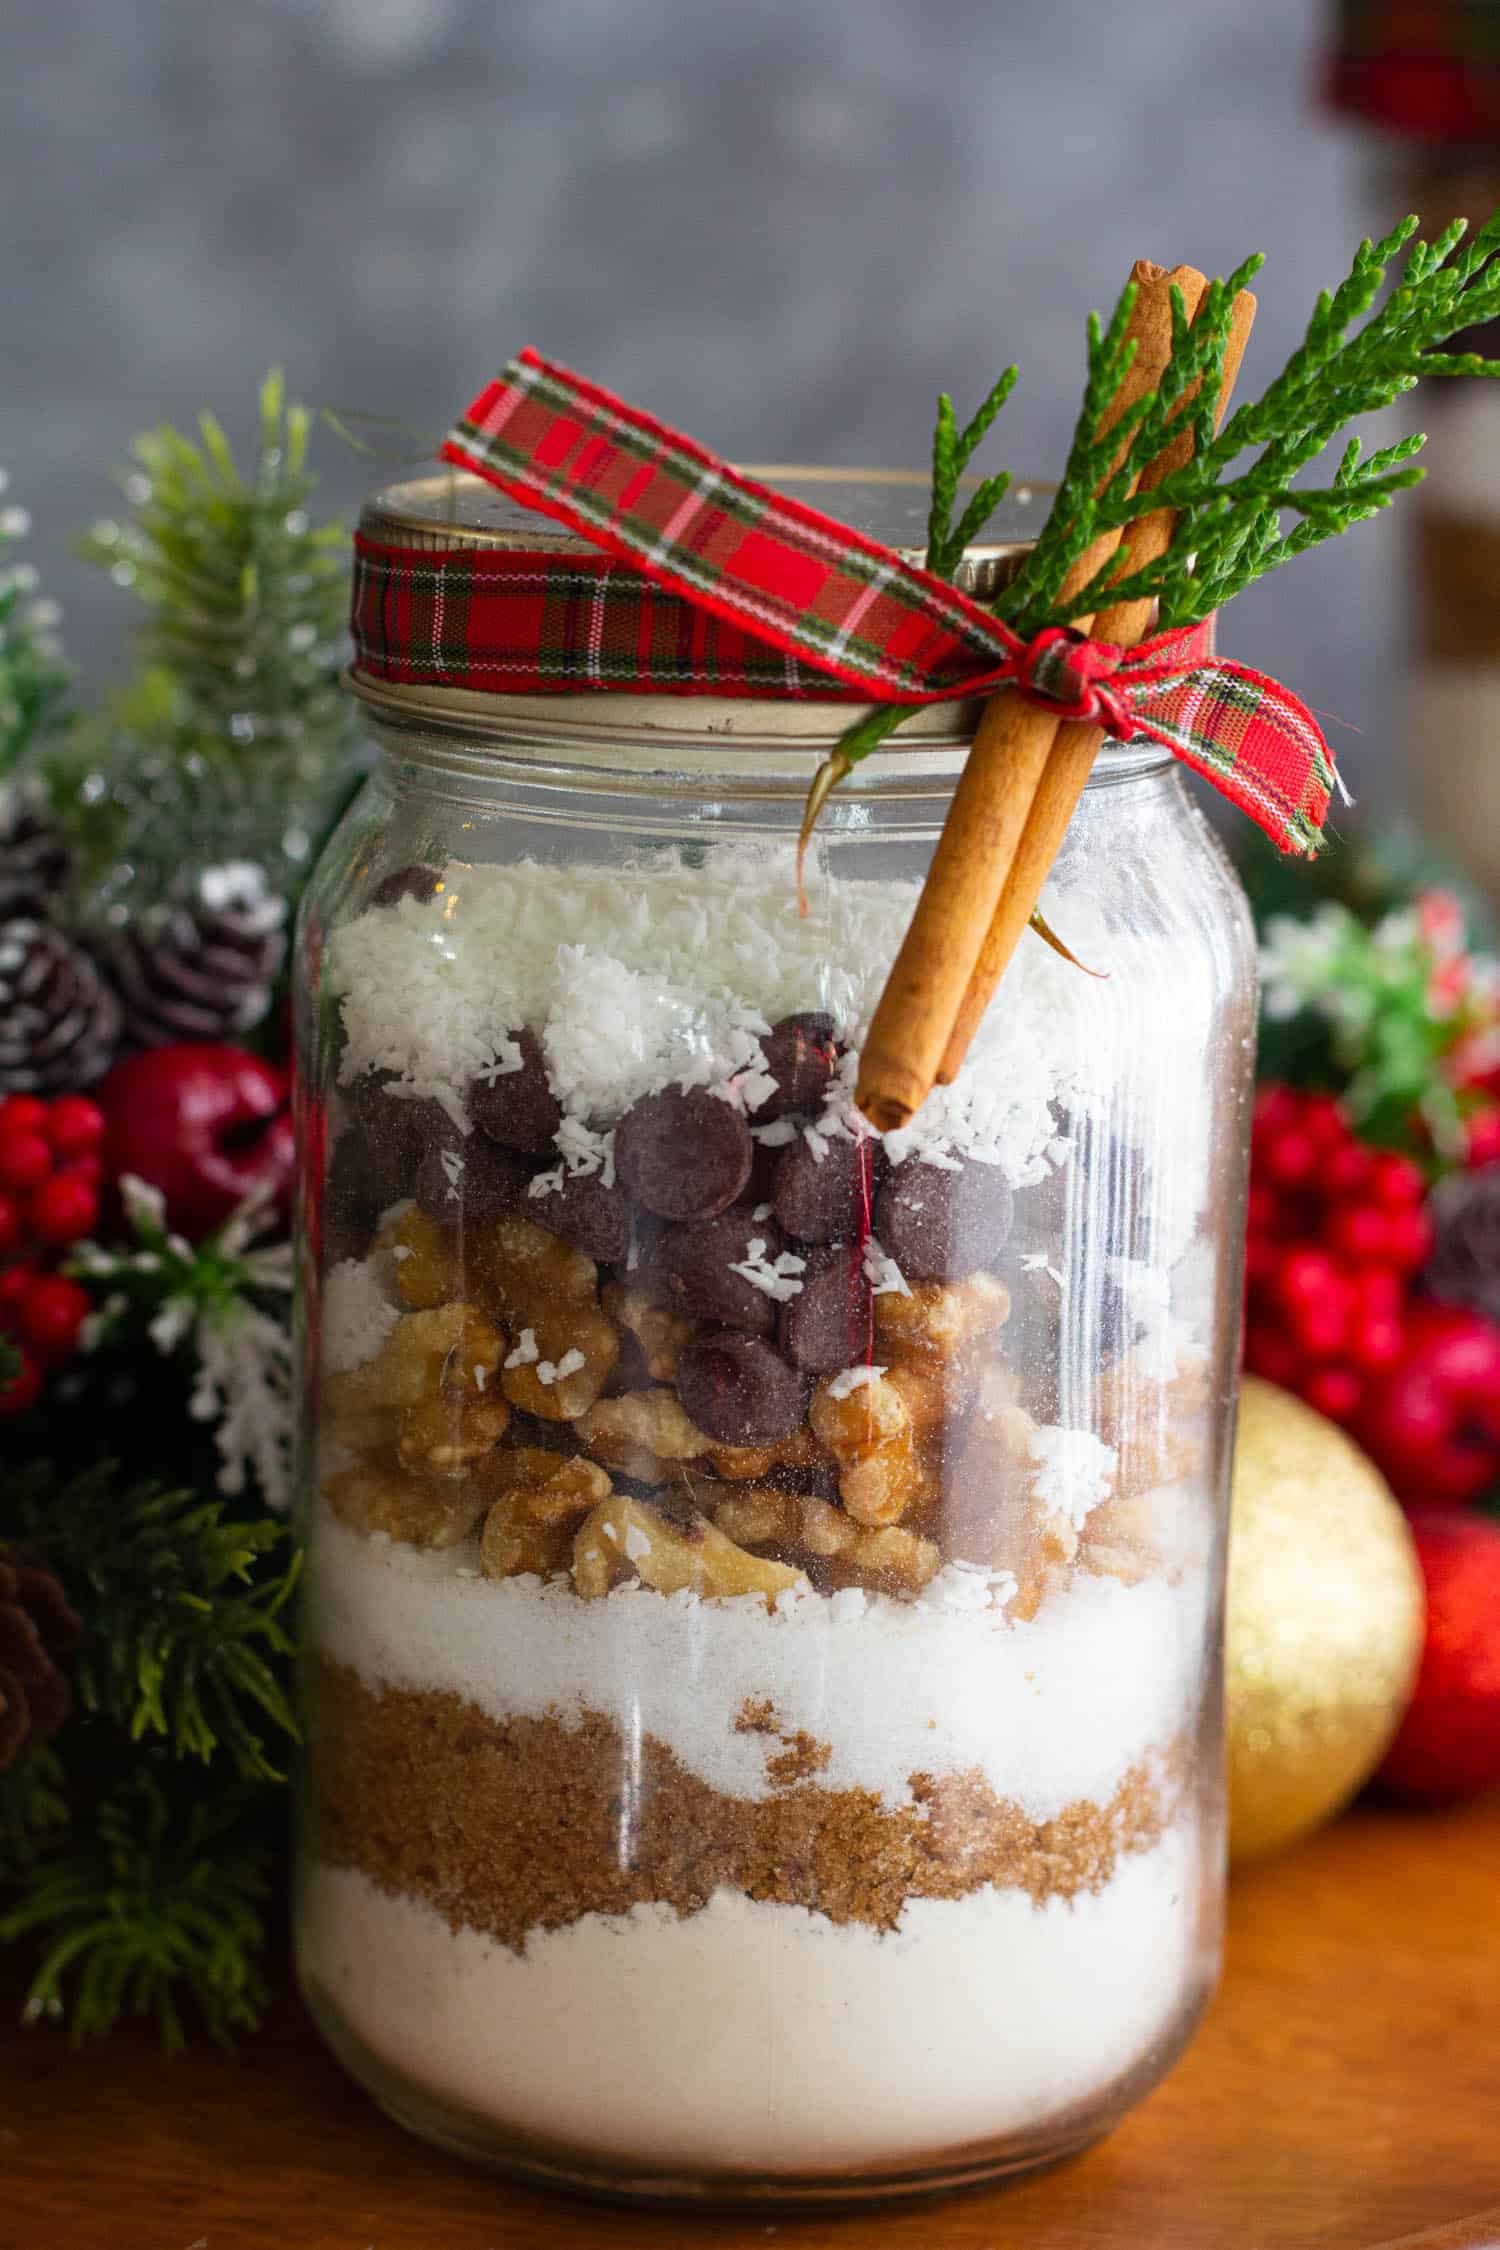
Assembling the cookie mix
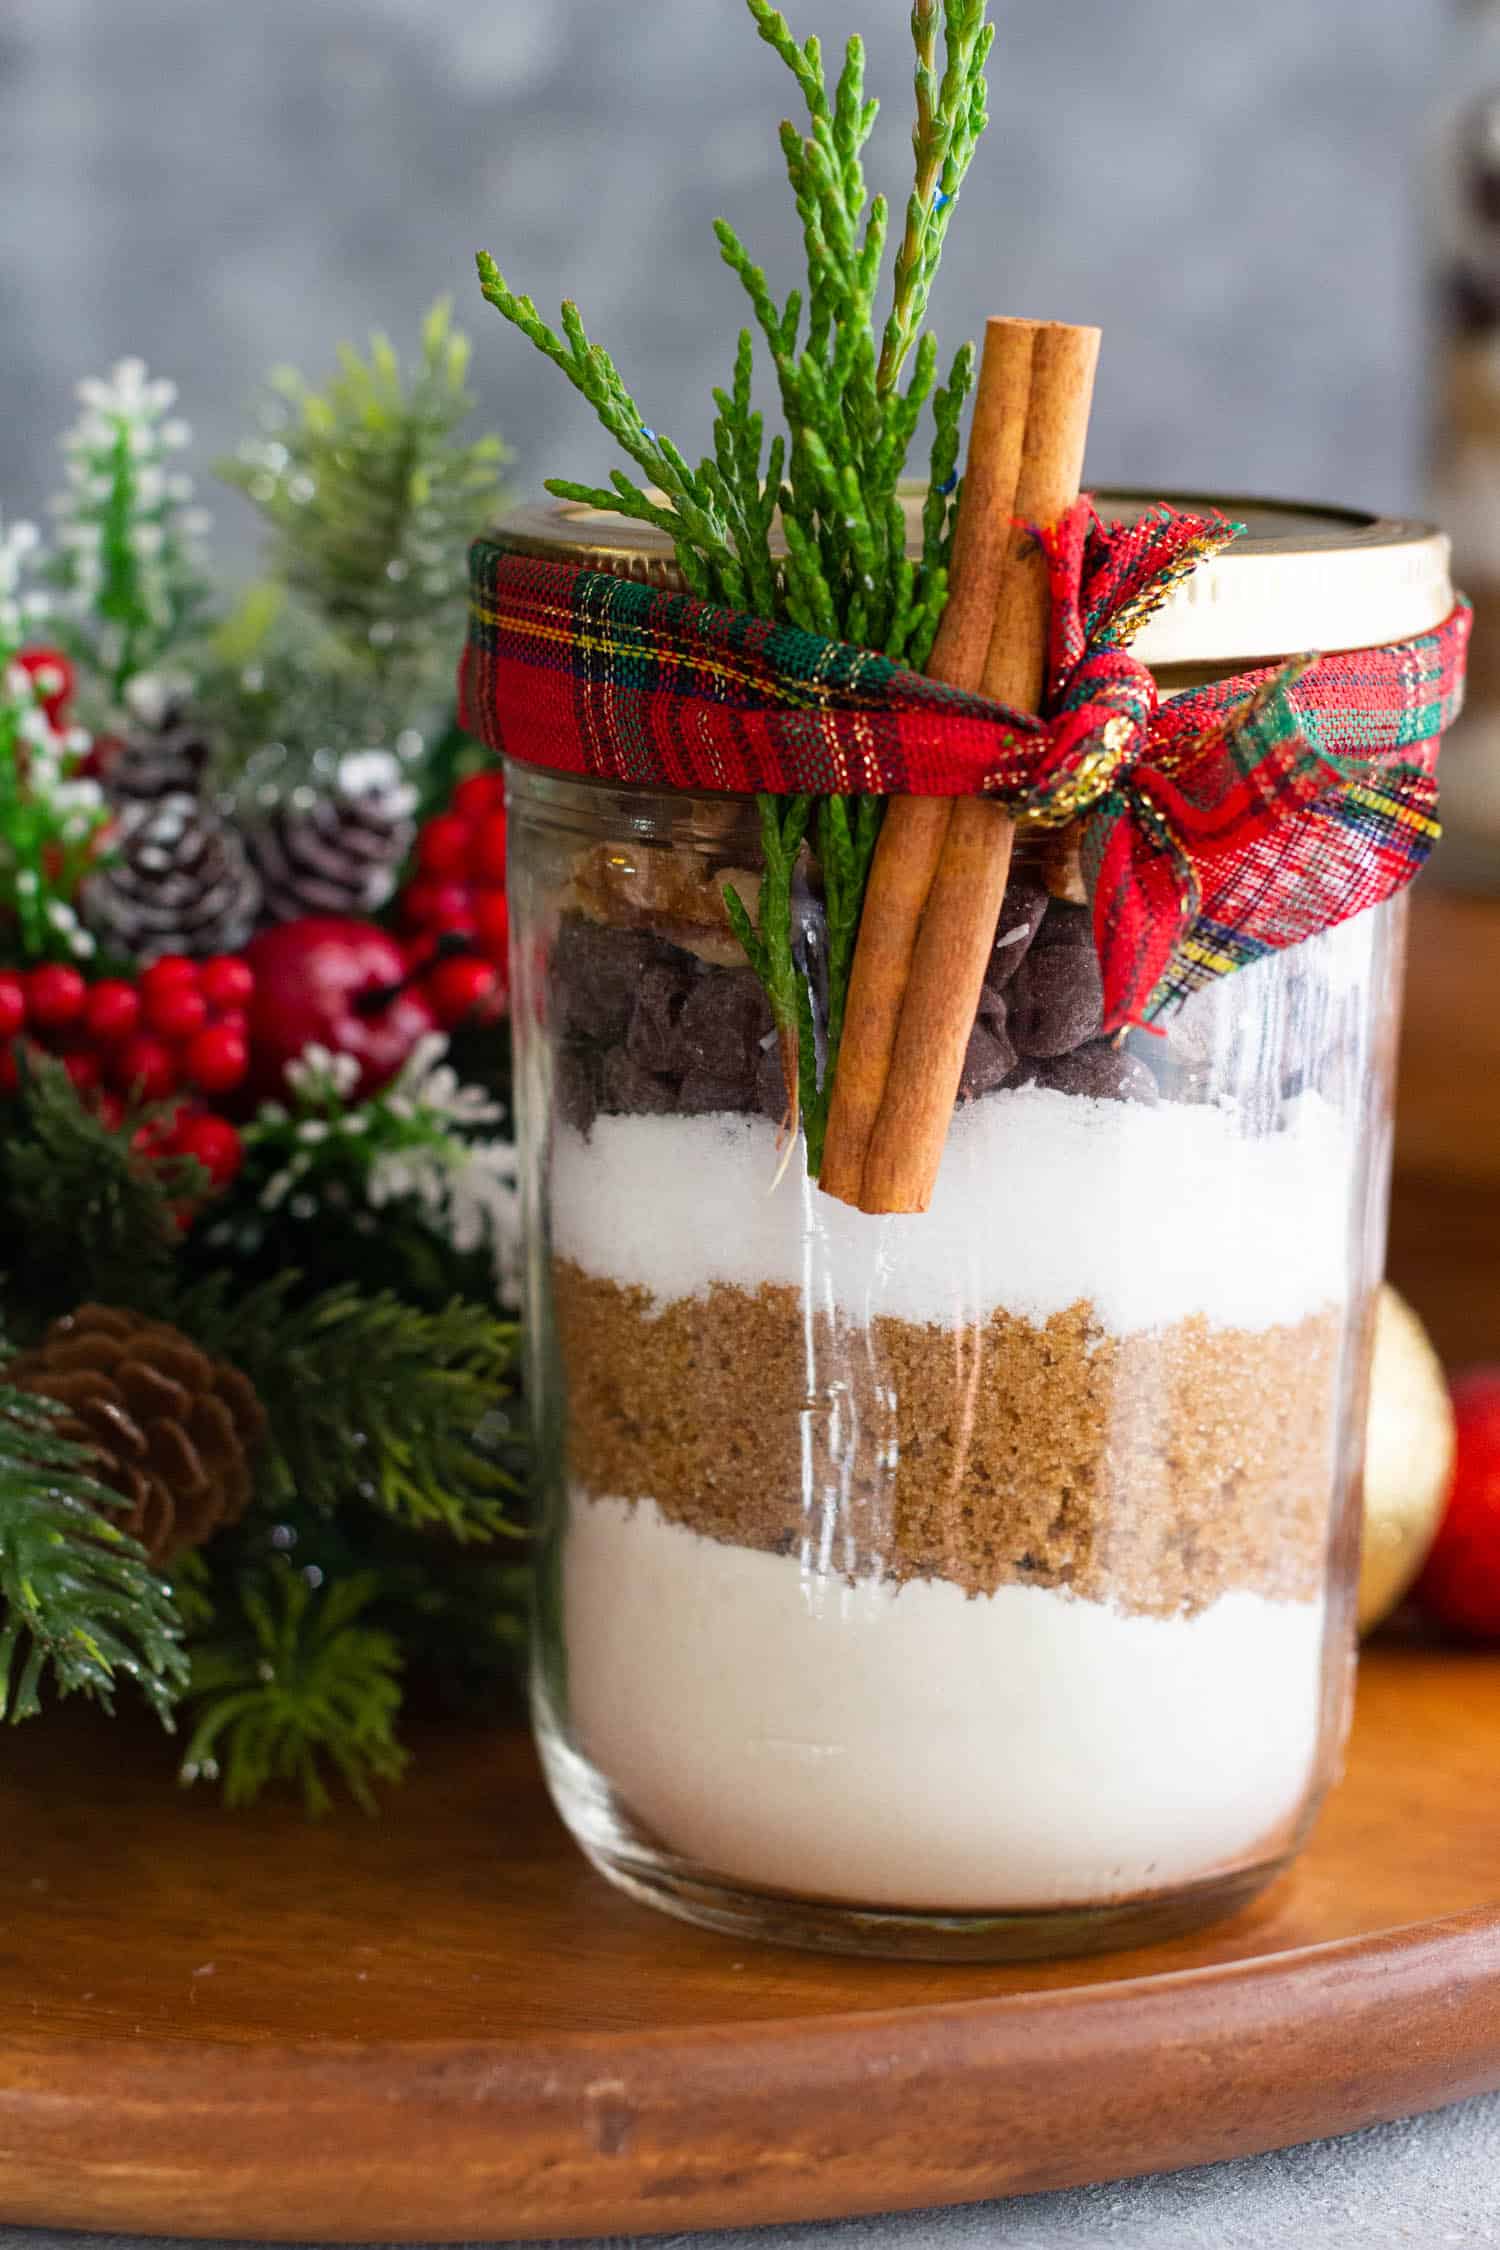
- Stir together the flour, baking powder, baking soda and salt. I also added some cinnamon to this particular batch. Add it to a quart sized mason jar.
- Top with brown sugar and white sugar. Pack them tightly so they look good.
- Finish with your favorite additions including chocolate chips, walnuts and shredded coconut.
- Seal the lid, then tie a ribbon around the lid with a small pine leaf and a cinnamon stick.
Frequently Asked Questions
If stored properly in a cool and dark place, these would keep up to 3 months.
Yes, you can leave out the walnuts and add pecans or chopped almonds.
Freezing the mix would alter the texture therefore I don’t recommend it.
Notes and tips
- Using a funnel will make it much easier to put the ingredients into the jar.
- Don’t forget to add the printed instructions for making the cookies.
- Make sure the jar and the lid are completely dry. The smallest amount of water in the jar could ruin the mix.
- You can add other ingredients such as dried cranberries, white chocolate chips or pecans to this mix instead of the additions mentioned in the recipe.
- Add each ingredient gently to the jar so they don’t sink to the bottom.
More cookie recipes
Dessert
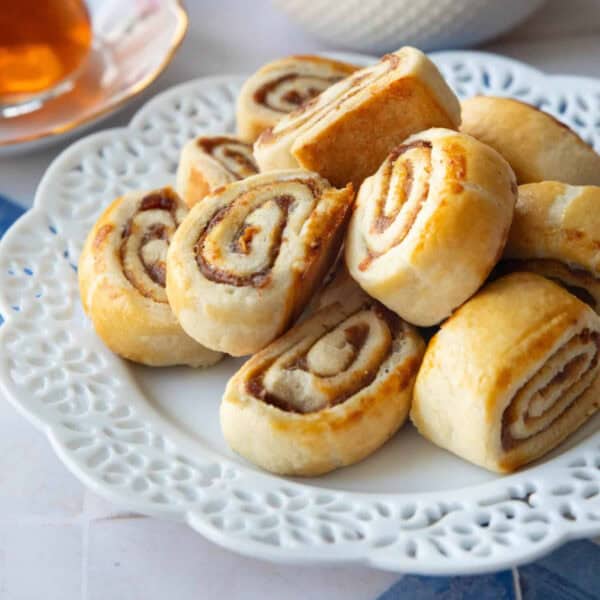
Kleicha (Iraqi Date Cookies)
All Recipes
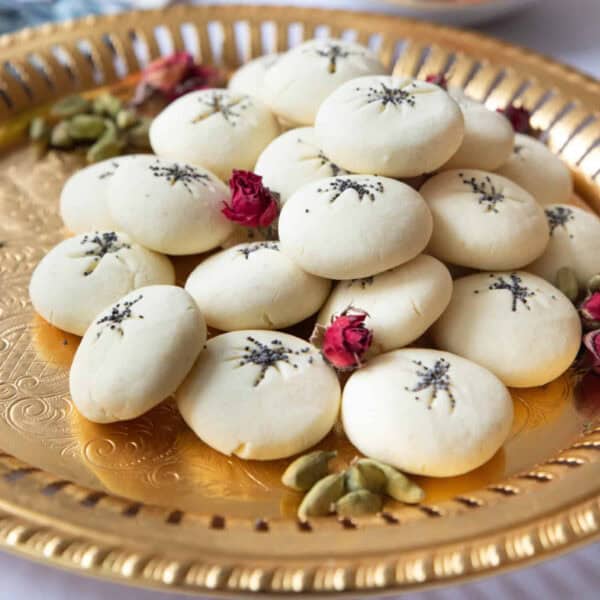
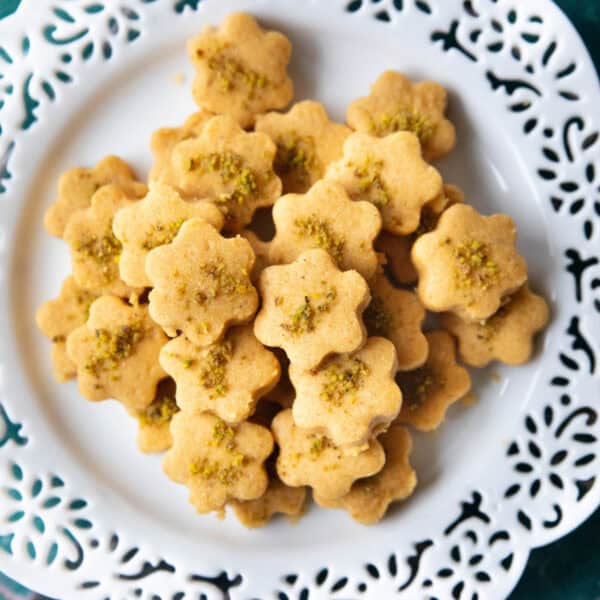
Nan-e Berenji (Persian Rice Cookies)
All Recipes
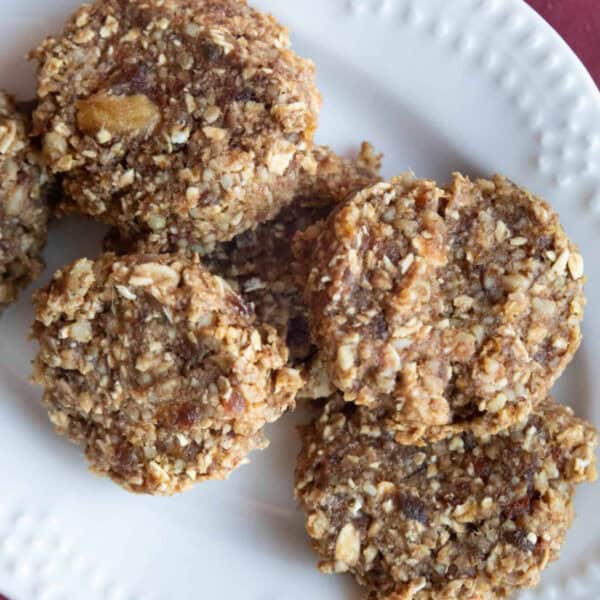
Date Cookies (No Butter or Sugar!)
Did you make this recipe? I’d love to hear about it! Please comment and leave a 5-star🌟 rating below. You can also follow us on Instagram, Facebook, Pinterest or subscribe to our newsletter to get a free e-Cookbook!

DIY Cookie Mix In A Jar
Ingredients
- 1 1/2 cup Signature Select unbleached flour
- 1 1/2 tsp O Organic cinnamon
- 1 tsp baking powder
- 1/2 tsp baking soda
- 1/4 tsp salt
- 1/3 cup Signature Select brown sugar
- 1/3 cup O Organic granulated sugar
- 3/4 cup signature select chocolate chips
- 1/3 cup shredded coconut
- 1/2 cup Open Nature walnuts
Instructions
- Stir together the flour, baking powder, baking soda, cinnamon and salt.
- Add it to a quart sized mason jar.
- Next, add the brown sugar and white sugar, pack them tightly so everything fits.
- Top with chocolate chips, walnuts and shredded coconut.
- Seal the lid, tie a ribbon around the lid with a small pine leaf and a cinnamon stick.
Baking instructions
- Preheat the oven to 375°F and line a baking sheet with parchment paper.
- Mix 1/2 cup melted butter with one large egg. Add in the dry ingredients to the butter and egg and stir with a wooden spoon or a spatula to combine.
- Scoop out the cookie dough onto the baking sheet, leaving 2 inches between them to spread.
- Bake in the oven for 8-10 minutes. Let them cool for 10 minutes and then transfer them to a rack to cook completely.
Notes
- You can leave out the shredded coconut if desired.
- Using a funnel will make it much easier to put the ingredients into the jar.
- Don’t forget to add the printed instructions for making the cookies.
- Make sure the jar and the lid are completely dry. The smallest amount of water in the jar could ruin the mix.
- You can add other ingredients such as dried cranberries, white chocolate chips or pecans to this mix instead of the additions mentioned in the recipe.
- Add each ingredient gently to the jar so they don’t sink to the bottom.
Nutrition
Nutrition information is automatically calculated, so should only be used as an approximation.


This is such a clever idea and such a great homemade gift for someone. Thank you for sharing!
These make the best gifts, and they’re so delicious when all put together!
Great recipe and gift idea! It’s so nice to give homemade gifts and the kids loved helping make these!
These turned out so cute! And thanks for the tip about using a funnel – SO much easier and way less messy that way. Thanks!