Olive Bread Recipe (No Knead)
Sep 25, 2024, Updated Jul 06, 2026
This post may contain affiliate links.
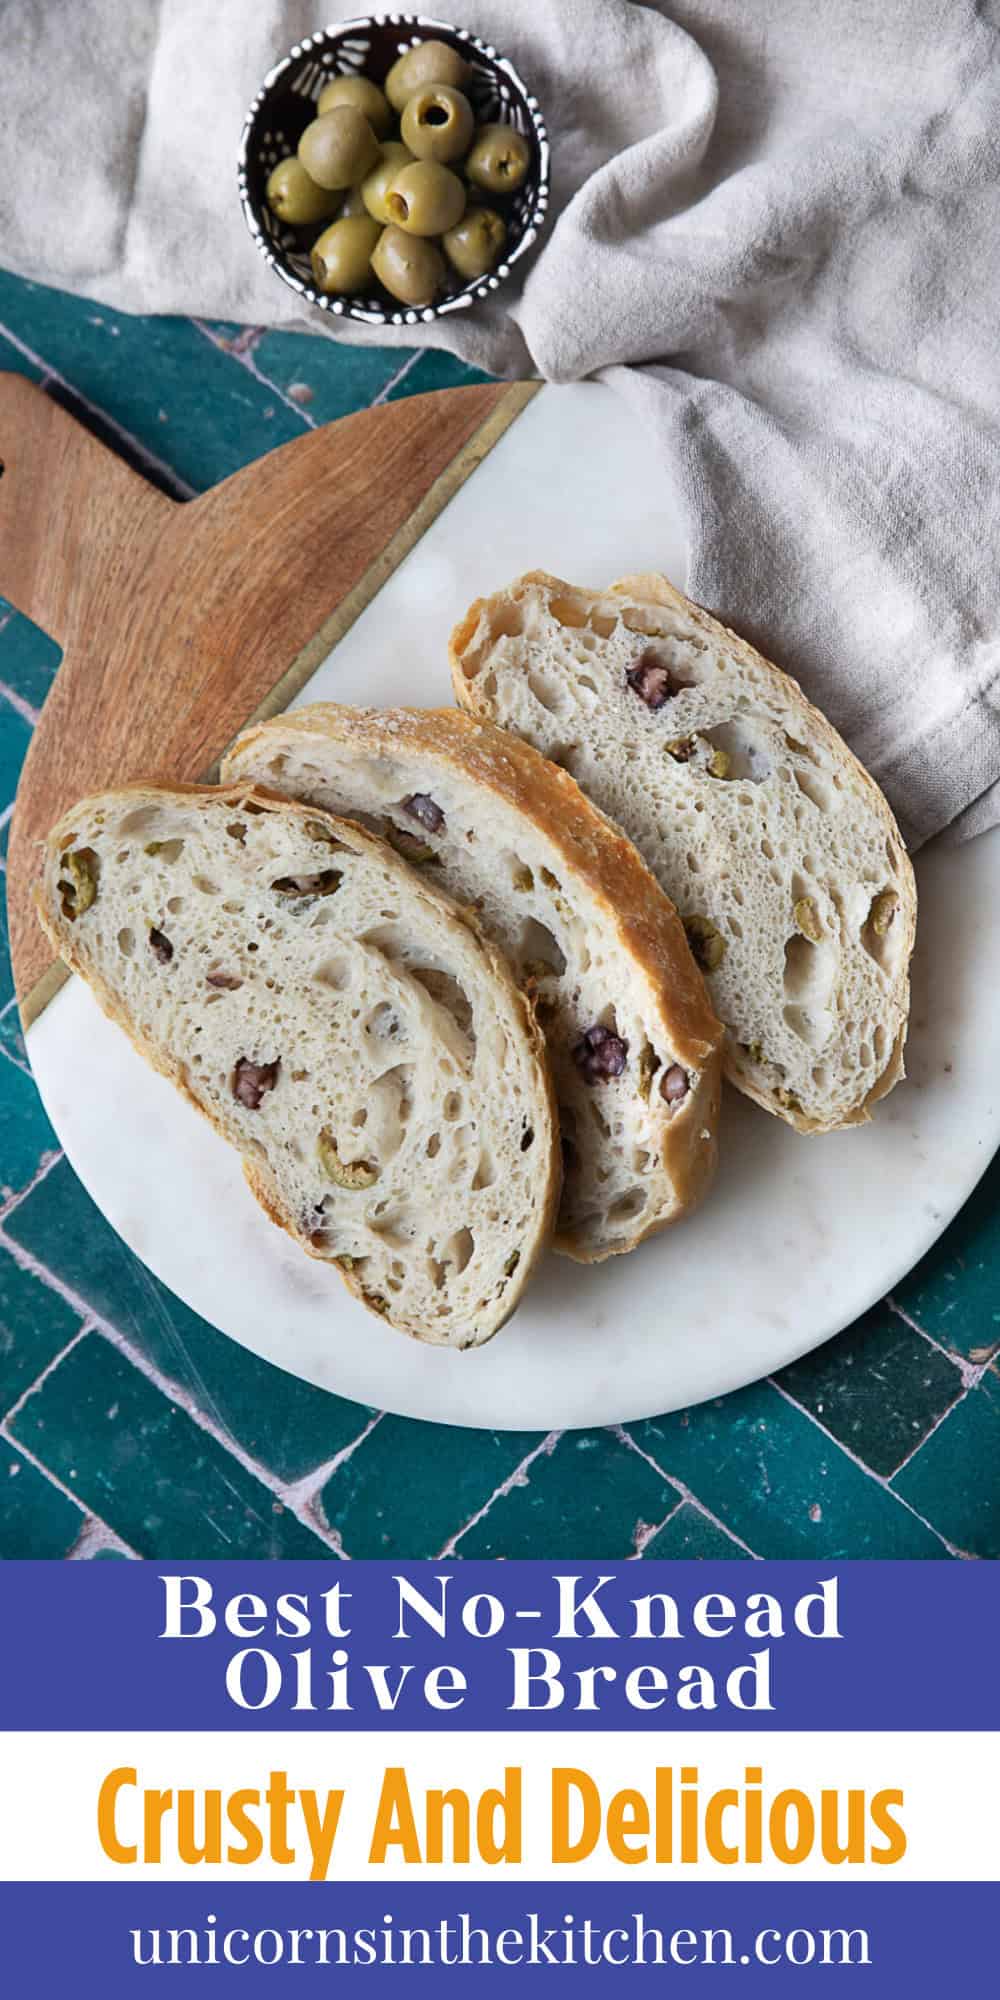
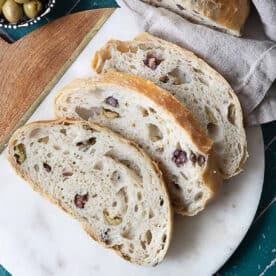
This olive bread is perfect to serve with almost any meal or alongside dips. It’s a no knead recipe with minimal prep and mostly hands-off time. With a tender crumb, chewy crust, and bits of olives throughout, this loaf is sure to become a favorite after the first bite.

I’ve always loved baking bread. There’s something incredibly satisfying about mixing flour, water, and a few simple staples, then baking it in the oven and ending up with a perfect loaf. The smell of freshly baked bread always makes me swoon. However, I know many people find bread baking intimidating, which is why I fill my website with easy bread recipes like this fantastic olive bread. If you’re new to baking bread, you should try my focaccia and Turkish pide bread recipes, both are simple and impressive!
Table of Contents
Ingredients

- All-Purpose Flour: The main ingredient for creating the dough. This flour provides a good structure while keeping the bread soft and airy. It’s versatile and perfect for this no-knead recipe. Alternatively, you can use bread flour.
- Warm Water: Essential for activating the yeast and hydrating the flour. Ensure the water is warm but not too hot to avoid killing the yeast. It should be around 105-115°F (40-46°C) for optimal results. Rule of thumb is that when you touch the water, it should be warm, but not burning your finger.
- Instant Yeast: A key ingredient for leavening the dough, giving it the necessary rise and airy texture. Instant yeast is convenient as it doesn’t need to be dissolved in water before use.
- Kosher Salt: Enhances the overall flavor of the bread and helps control yeast activity. It’s crucial for balancing the taste and ensuring the dough ferments properly.
- Chopped Kalamata Olives and Green Olives: These add a rich, briny flavor to the bread. Olives provide a tangy and savory note that complements the dough beautifully.
How to Make Easy Olive Bread
Mix the Dough
Combine 3 cups of all-purpose flour, 1 teaspoon of instant yeast, 1/2 teaspoon sugar and 1 teaspoon of kosher salt in a large bowl. Add in the chopped olives to the mixture. Then gradually add 1 ½ cups of warm water (105-115°F or 40-46°C) while stirring with a large spoon or spatula. The dough will be wet and sticky, which is expected.


Let the Dough Rise
Now cover the bowl with plastic wrap and a kitchen towel. Place it in a draft-free area, such as an off oven, to rise for 6 to 8 hours, or overnight. The dough should double in size and look bubbly and shaggy.
After the rising period, transfer the dough to a lightly floured surface. Gently shape it into a ball, ensuring the bottom remains intact. Make sure not to overwork the dough.

Second Rise
Place the shaped dough on a piece of parchment paper. Lightly dust the top with a bit of flour and cover it with a kitchen towel. Allow it to rest at room temperature for about 1 hour.
While the dough is resting, place a 6 to 8-quart Dutch oven with its lid inside your oven and preheat it to 450°F (230°C). This will help achieve a crispy crust.
Bake the Bread
Once the oven is preheated and the dough has rested, carefully remove the Dutch oven from the oven using oven mitts. Take off the lid.
Using the parchment paper, lift the dough and place it into the hot Dutch oven and place the lid back on. Now bake the covered dough in the preheated Dutch oven for 30 minutes. This helps to steam the bread and create a tender crumb.
After 30 minutes, remove the lid and continue baking for an additional 20 to 25 minutes, or until the bread is golden brown and sounds hollow when tapped on the bottom.


Cool the Bread
Finally, carefully remove the bread from the Dutch oven and let it cool on a wire rack before slicing. This helps the crust stay crisp and the inside set properly.

Recipe Tips
Use High-Quality Olives: The flavor of your olives greatly impacts the final taste of the bread. Choose high-quality, flavorful olives, and chop them just before adding to avoid excess moisture.
Don’t Overmix the Dough: For a light and airy texture, mix the dough until just combined. Overmixing can develop too much gluten and result in a denser bread. The dough should be sticky and shaggy, not smooth.
Preheat the Dutch Oven Thoroughly: Preheating your Dutch oven ensures that the bread starts baking at the right temperature, which contributes to a crispy crust and proper oven spring.
Use Parchment Paper for Easy Handling: Baking the dough on parchment paper makes transferring it into the Dutch oven much easier and helps prevent sticking, making clean-up simpler.
Be Careful with Flour During Shaping: Use just enough flour to prevent sticking when shaping the dough. Adding too much flour can make the bread dry and affect the texture.
Dutch Oven Alternative: If you don’t have a Dutch oven, bake the bread on a baking sheet lined with parchment paper. To mimic the steam effect, place a small pan of water in the oven while baking.
Practice Patience: Resist the urge to cut the bread immediately after baking. Letting it cool allows the flavors to develop and the texture to set properly
What To Serve Olive Bread With
This delicious No-Knead Olive Bread is incredibly versatile and pairs well with a variety of dishes.
For a simple and delightful appetizer, slice the bread and serve it with a drizzle of high-quality olive oil and a sprinkle of sea salt. Or make my popular bread dipping oil easy olive oil bread dip to dip this bread in. You can also pair it with my Labneh Dip with roasted peppers for a bright and creamy option.
It’s also perfect alongside a hearty soup or salad, adding a savory touch to your meal. Enjoy with saffron roasted butternut squash soup.
Serve it alongside your favorite pasta dishes to soak up the yummy sauce. Try with Italian sausage pasta recipe and cherry tomato pasta.
Enjoy it toasted with your favorite spreads such as labneh or as part of your Mediterranean breakfast bowl. You can even use it as a base for a gourmet sandwich such as my favorite caprese sandwich or chicken pesto sandwich.

Variations and Substitutes
Add-Ins:
Herbs: Enhance the flavor by adding fresh or dried herbs such as rosemary, thyme, or oregano to the dough.
Cheese: For a cheesy twist, incorporate shredded cheese like Parmesan, Gouda, or Gruyère into the dough or sprinkle it on top before baking.
Garlic: Add minced garlic, roasted garlic or garlic powder for an extra layer of savory flavor.
Flour Substitutes:
Whole Wheat Flour: Replace 1/3 of the all-purpose flour with whole wheat flour for a nuttier flavor and additional nutrients.
Gluten-Free Flour: For a gluten-free version, use a gluten-free all-purpose flour blend such as Bob’s Red Mill. Keep in mind that the texture may vary slightly from the traditional version.

Storage
Airtight Container: Once the bread has completely cooled, store it in an airtight container or a resealable plastic bag at room temperature for up to 2 days. You can also store it in the fridge for up to one week.
Freeze: For longer storage, slice the bread before freezing. This makes it easier to grab individual slices as needed.
Thawing: To thaw, remove the slices from the freezer and let them sit at room temperature for about 15-20 minutes and then toast it to your liking.

Frequently Asked Questions
Yes, you can substitute all-purpose flour with bread flour for a chewier texture, or with whole wheat flour for a nuttier flavor. For gluten-free options, use a gluten-free all-purpose flour blend, but be aware that the texture may differ.
Ensure that your dough is properly hydrated. The dough should be wet and sticky. If it seems too dry, add a little more water.
If the dough didn’t rise well, it could be due to expired yeast or water that was too hot or too cold. Make sure your yeast is fresh and that the water temperature is within the recommended range (105-115°F or 40-46°C). If the dough is too cold, allow it more time to rise.
To achieve a crispier crust, make sure to preheat your Dutch oven thoroughly before adding the dough. Additionally, you can place a pan of water in the oven while baking to create steam, which helps in forming a crispy crust.
If you only have active dry yeast, you can use it as a substitute. Dissolve it in warm water (105-115°F or 40-46°C) that’s mentioned in the recipe and let it sit for about 5 minutes before adding it to the flour mixture. The rest of the recipe remains the same.
The bread is done when it is golden brown and sounds hollow when tapped on the bottom. You can also use a kitchen thermometer; the internal temperature should be around 200°F (93°C).
More Bread Recipies To Try
Breads
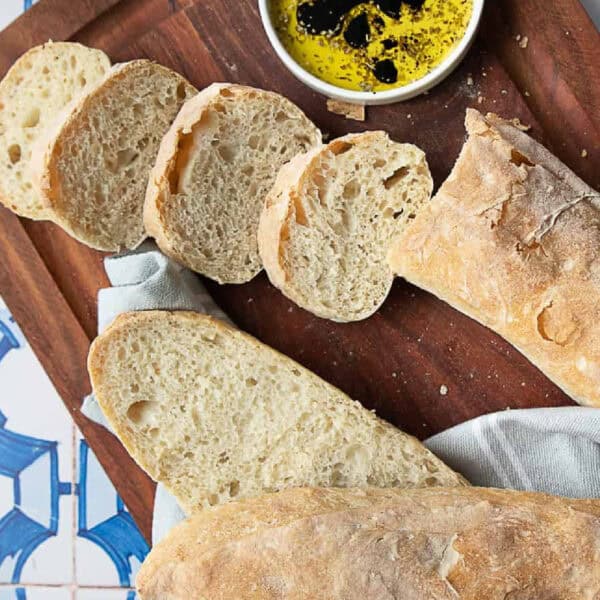
Ciabatta Bread

Italian Recipes
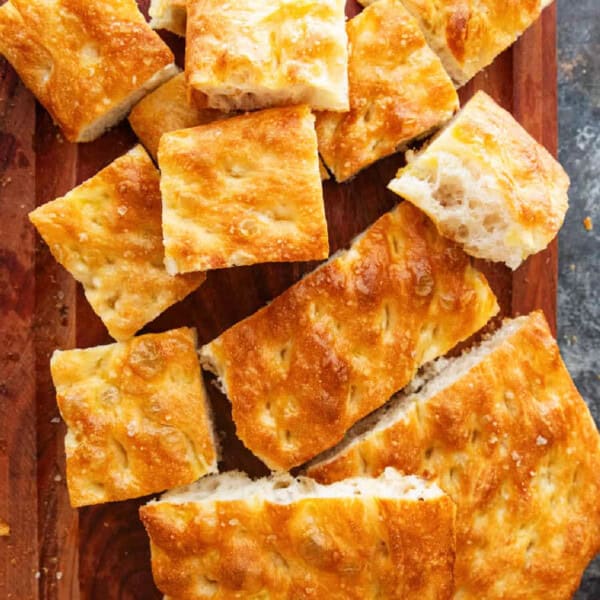
Easy Focaccia Recipe

Turkish Recipes
Turkish Simit (Step-by-Step Tutorial)
Did you make this recipe? I’d love to hear about it! Please comment and leave a 5-star🌟 rating below. You can also follow us on Instagram, Facebook, Pinterest or subscribe to our newsletter to get a free e-Cookbook!
No-Knead Olive Bread
Ingredients
- 3 cups All-purpose flour
- 1½ cup Warm water, 105-115 degrees F
- 1 tsp Kosher salt
- 1/2 tsp Granulated sugar
- 1 tsp Instant yeast
- ⅔ cup Kalamata olives, chopped
- ⅔ cup Green olives, chopped
Instructions
- In a large bowl mix the all-purpose flour, instant yeast, sugar and salt. Mix in the chopped olives. Add the water and mix using a large spoon. The dough will be wet and tacky, that’s how it should be.
- Cover the bowl with plastic wrap and a towel. Place it in a draft-free space such as an off oven for 6 to 8 hours (overnight).
- After resting time, you'll see that the dough has risen and it feels quite shaggy. Gently transfer it to a floured surface and shape it into a ball, making sure the bottom of the dough is intact.
- Place the dough on a piece of parchment paper. Lightly top with some flour, cover with a kitchen towel and let it sit at room temperature for 1 hour.
- Place a 6 to 8-quart Dutch oven with a lid in the oven, and preheat to 450 degrees F. Once the dough has rested for one hour and the oven is heated, remove the pot very carefully and take the lid off using oven mitts.
- Lift the parchment paper with the dough on it and place it in the Dutch oven. Place the lid back on, and place the pot back in the oven. Bake for 30 minutes.
- After 30 minutes, remove the lid to expose the bread. It should have risen and look quite pale. Bake uncovered for another 20 to 25 minutes until the loaf is golden brown.
- Let the loaf cool for 20 to 30 minutes before slicing.
Video
Notes
Nutrition
Nutrition information is automatically calculated, so should only be used as an approximation.


Delicious bread. So easy to make.
Delicious and easy. I made some to bring to work, with a dip and everyone loved it!
what temperature should the oven be
Please check the recipe card
Could a bit of olive juice be used along with the water for flavor?
Yes!
Great recipe. Can I use regular yeast, not self rising? What can I use instead of Dutch oven? Thanks
Yes you can place a baking sheet in the oven to heat as the oven is heating. Then place the dough on the hot baking sheet and place a pan full of water at the bottom of the oven to create that steam effect. The baking time is the same.
Just made this bread and came out perfect, beautiful, thank you 🙏🏼