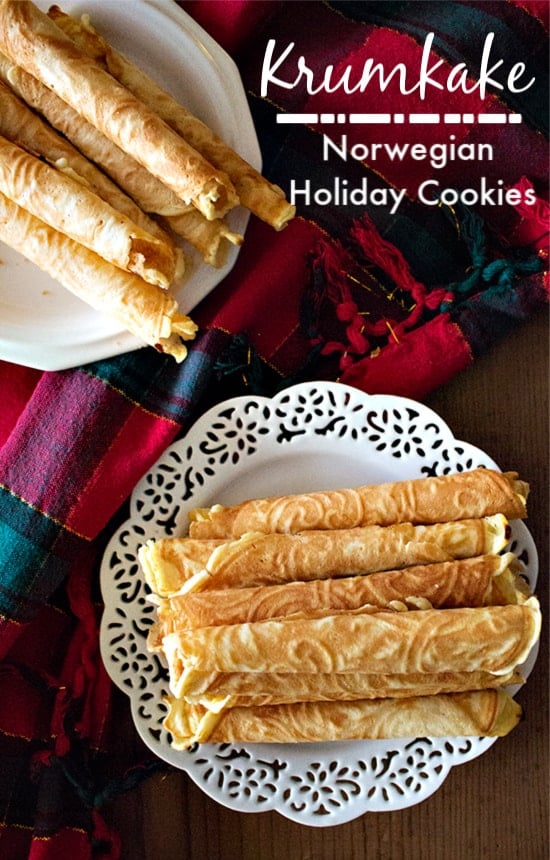
Krumkake Norwegian Holiday Cookies
Nov 21, 2018, Updated Dec 01, 2021
This post may contain affiliate links.
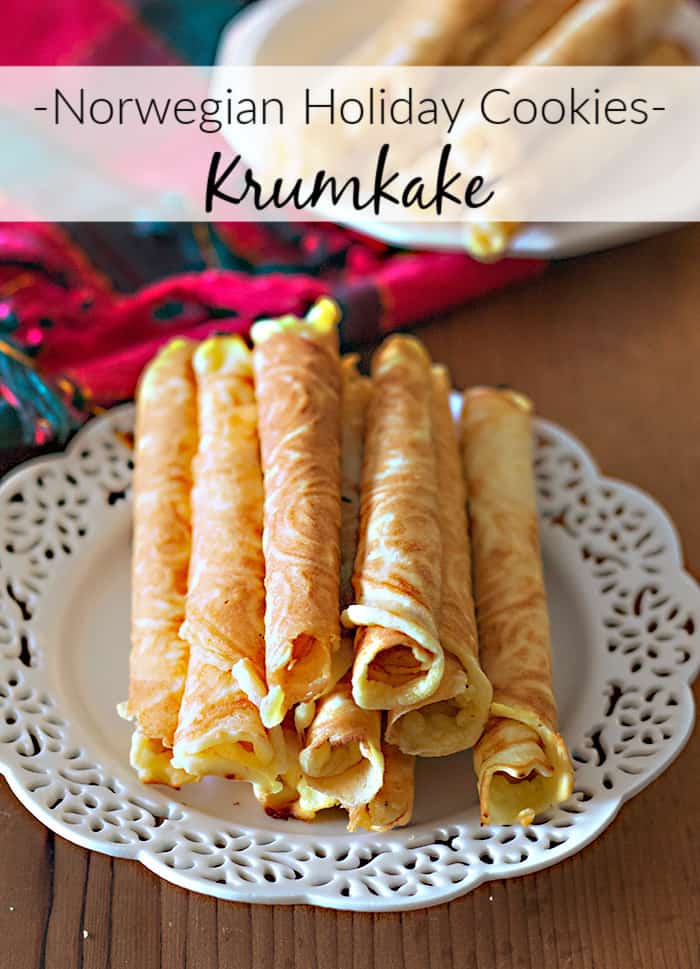
Krumkake is a delicate Norwegian cookie that is loved across generations and is perfect for the holidays. It’s decadent, delicious and worth the effort.
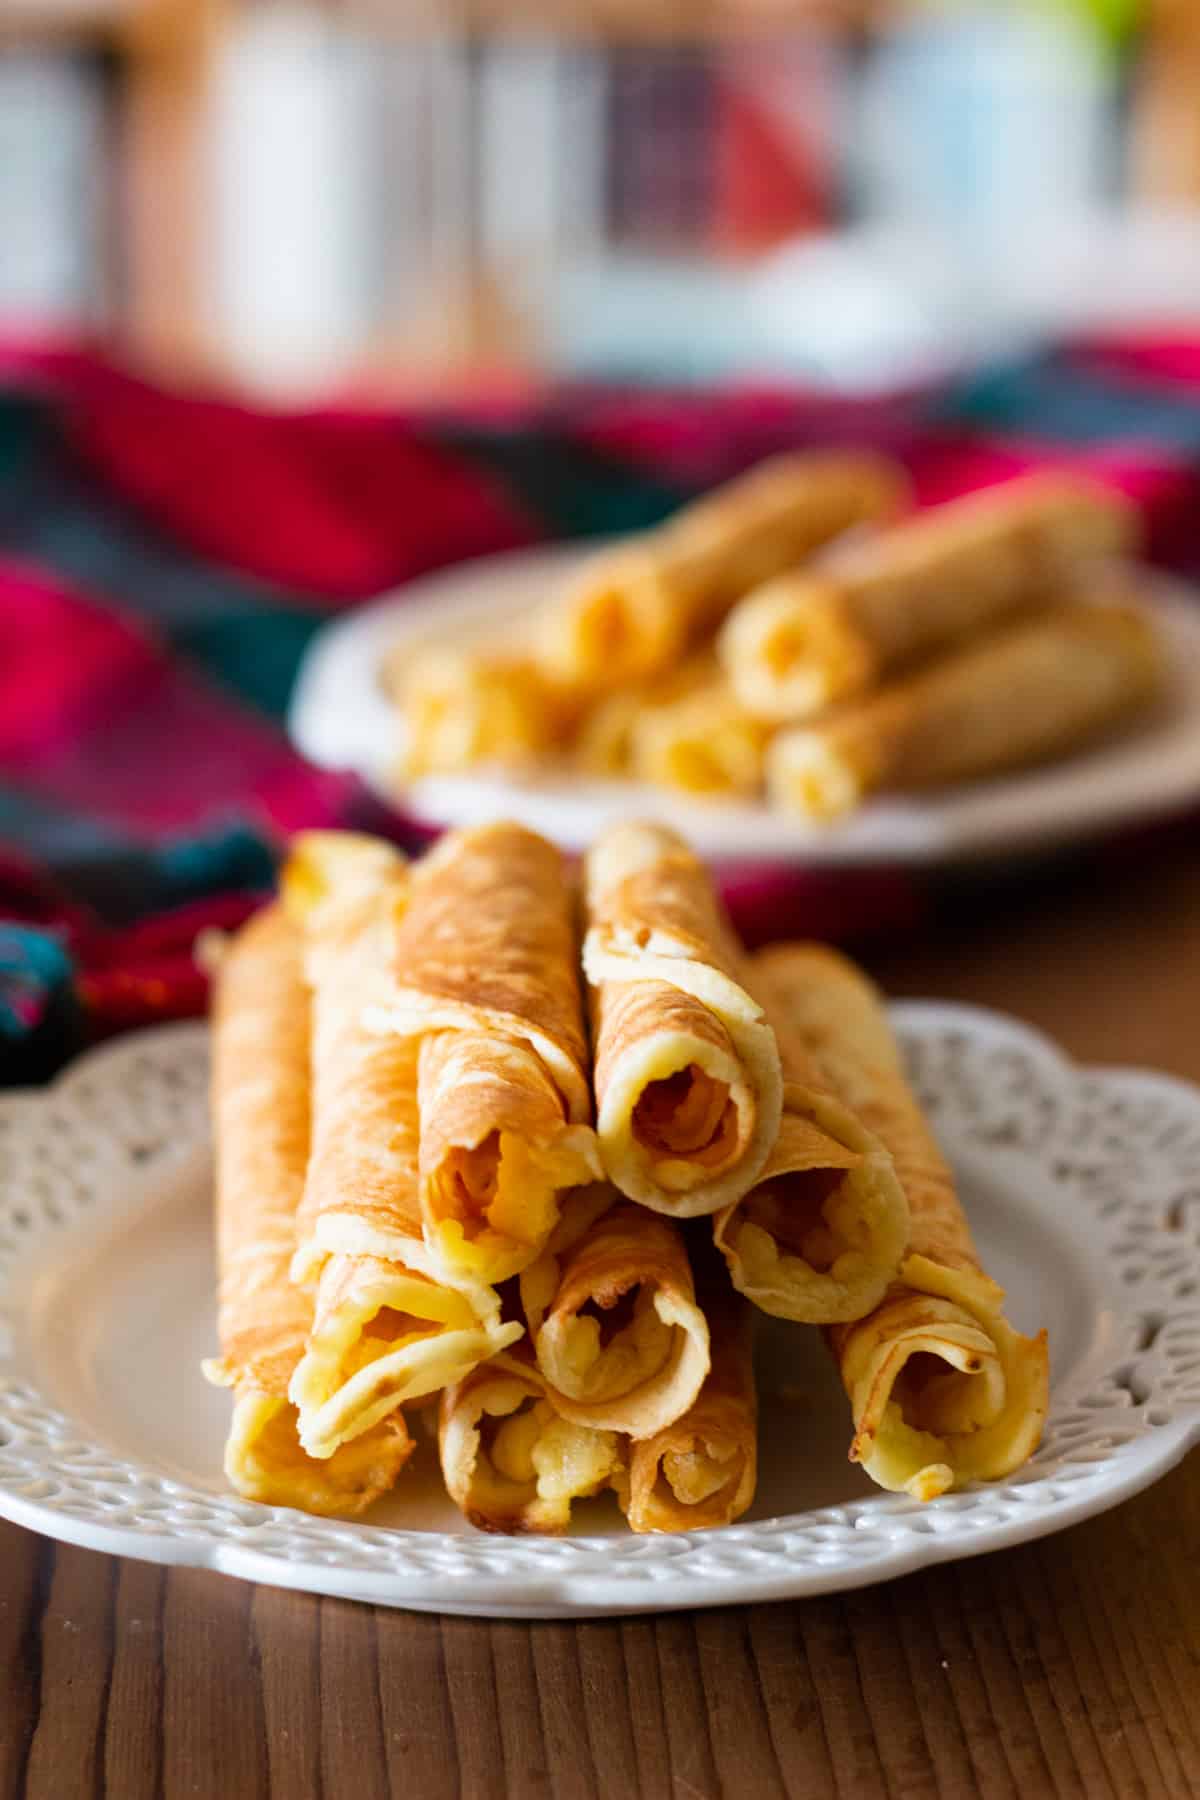
When it comes to Christmas cookies, I love making recipes that are family favorites and unique in flavor. Every year we make Turkish apple cookies, biscotti, cardamom cookies, Thumbprint cookies and delicate krumkake for the holidays. I’m so excited to show you how to make these delicate Norwegian cookies, follow along for all my tips and tricks!
Table of Contents
What Is Krumkake?
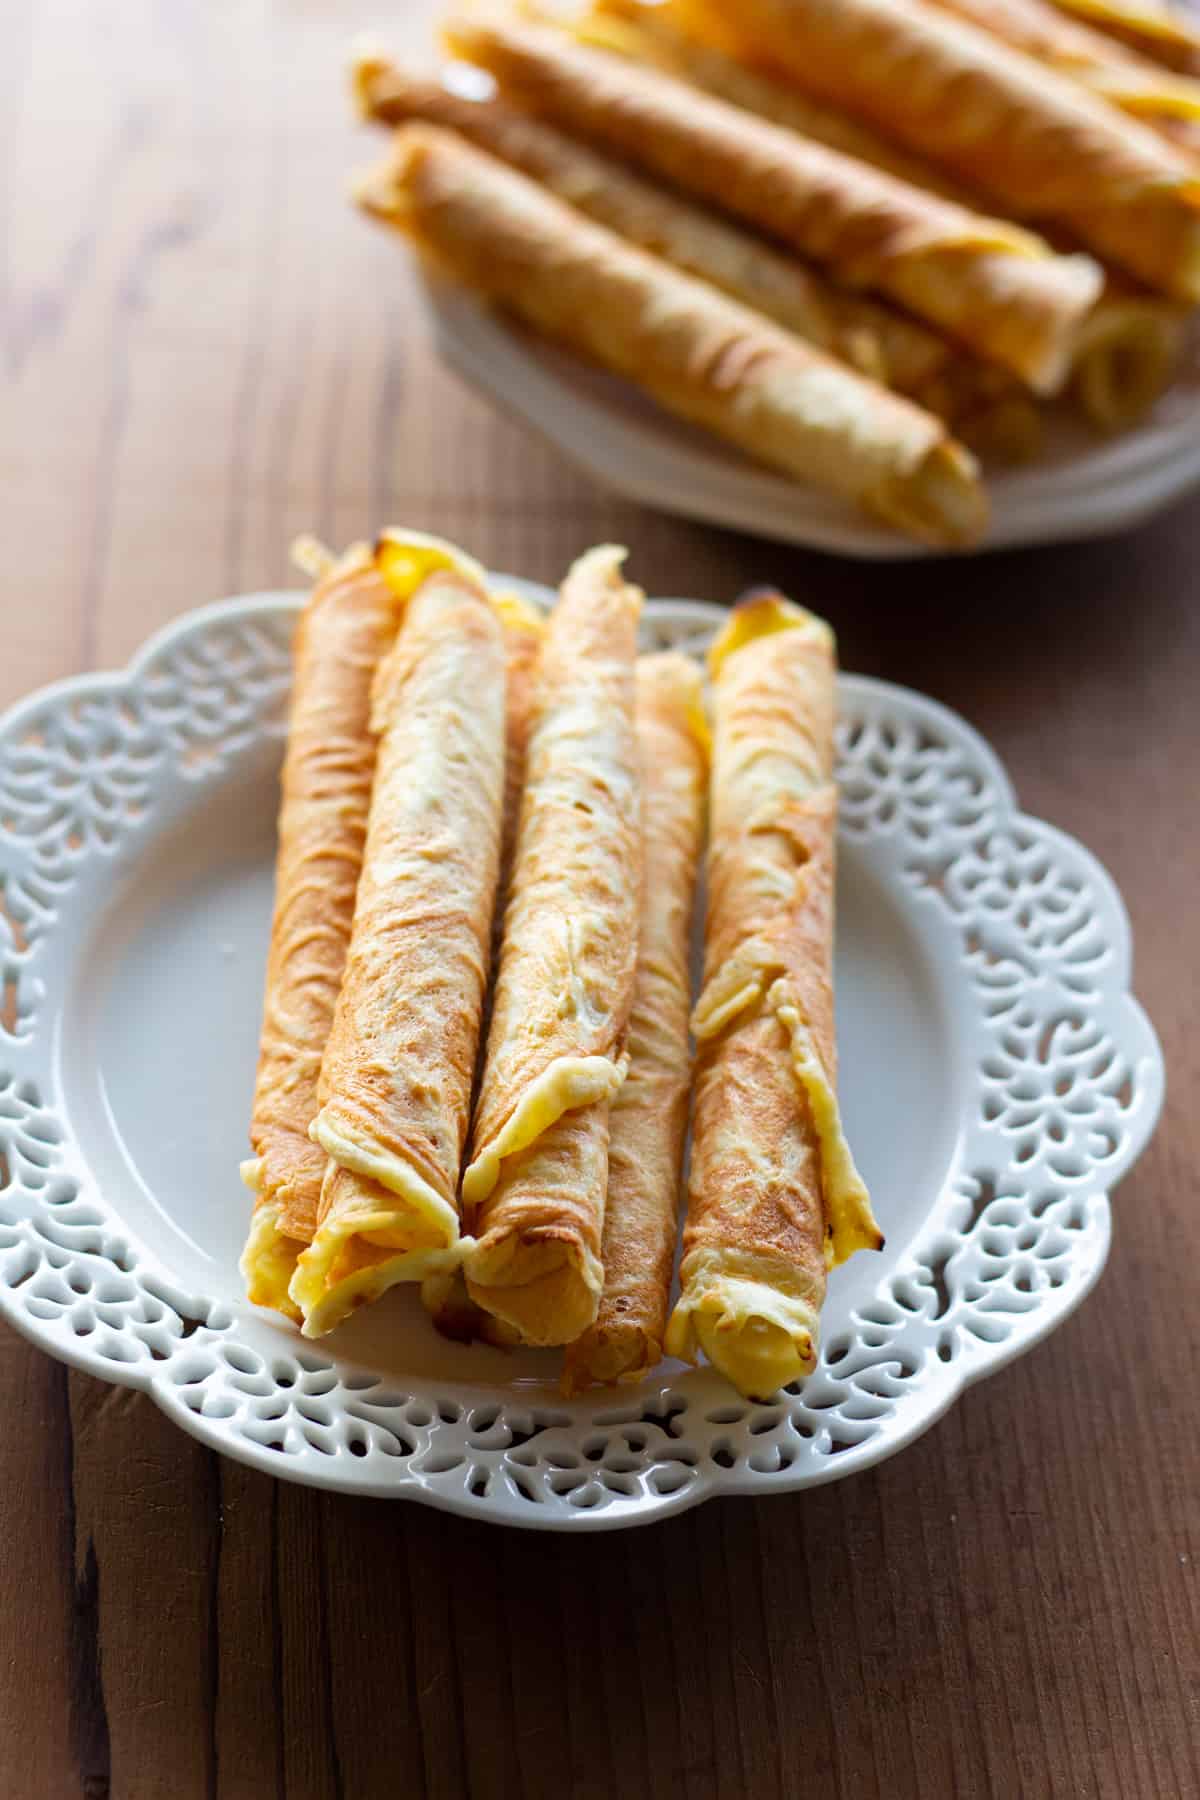
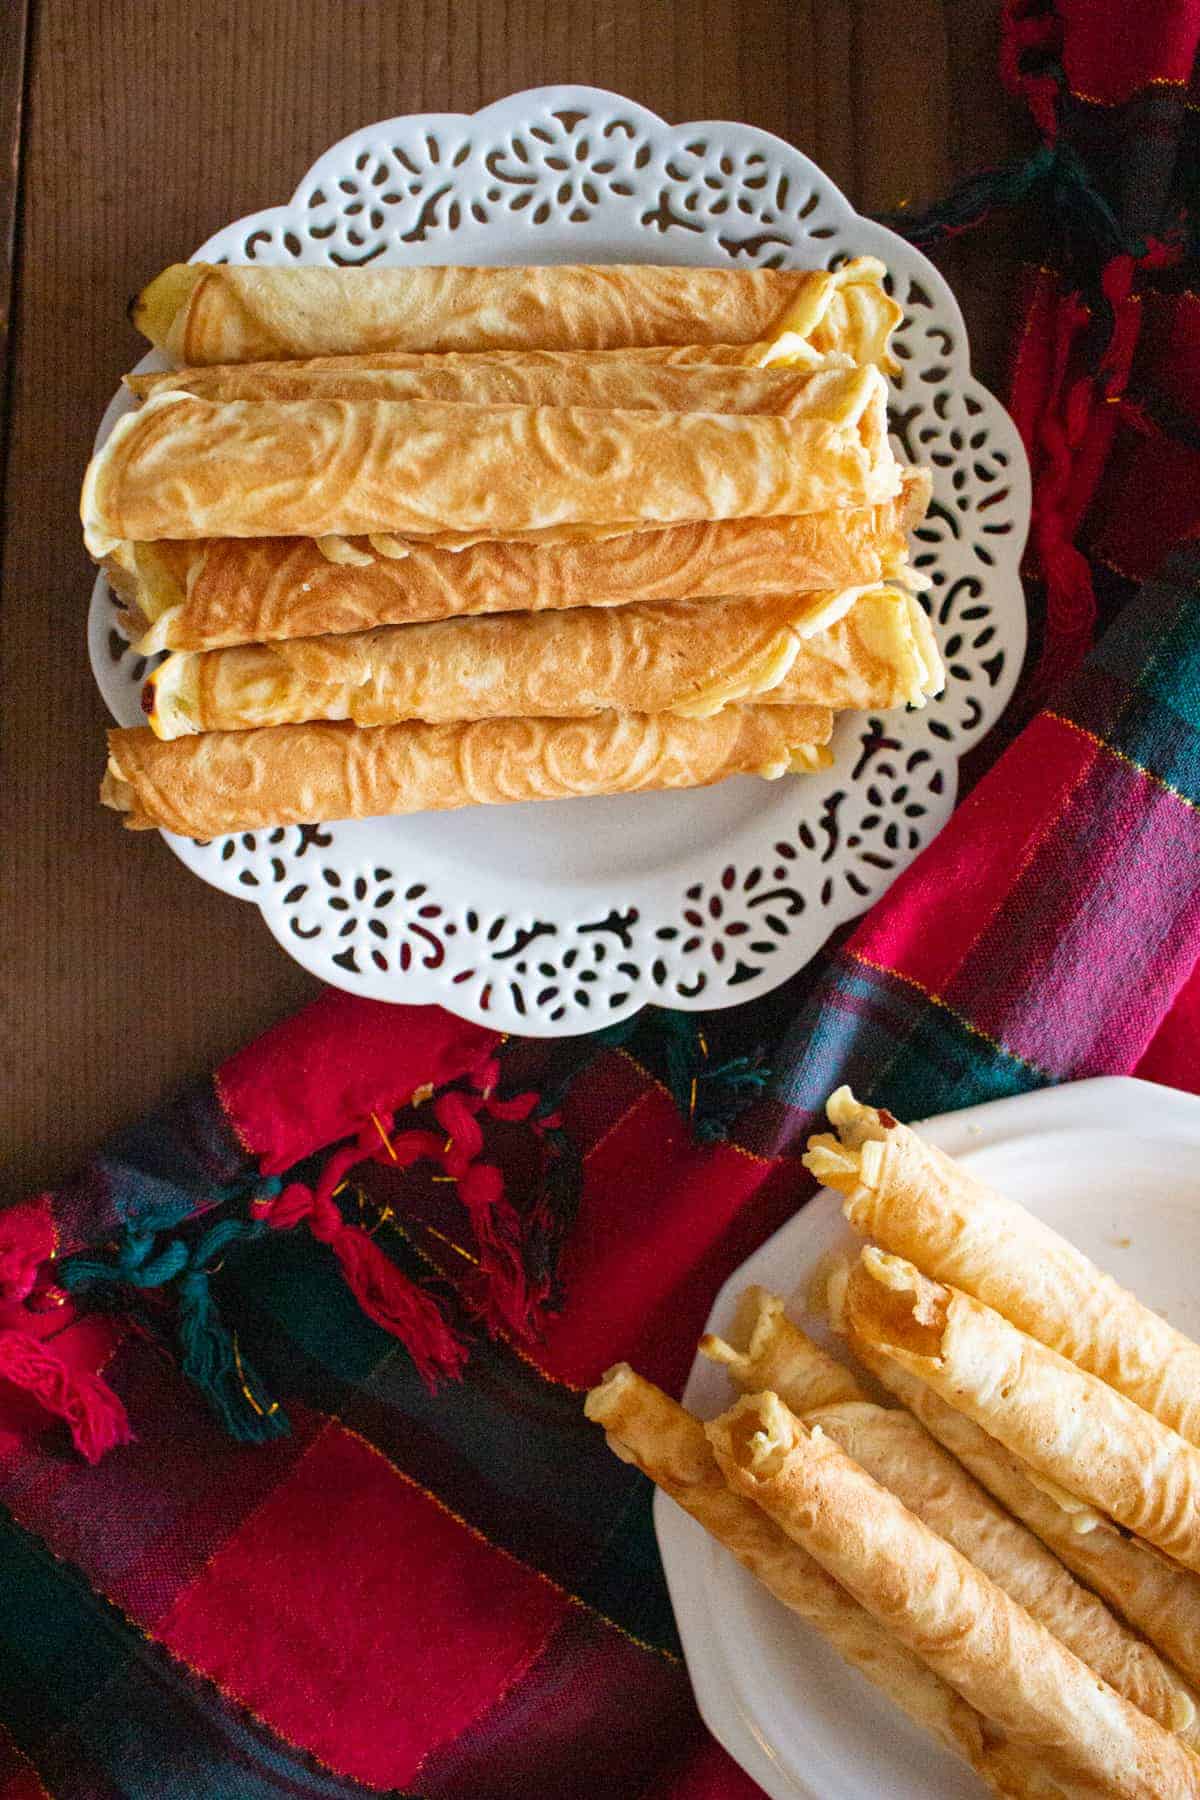
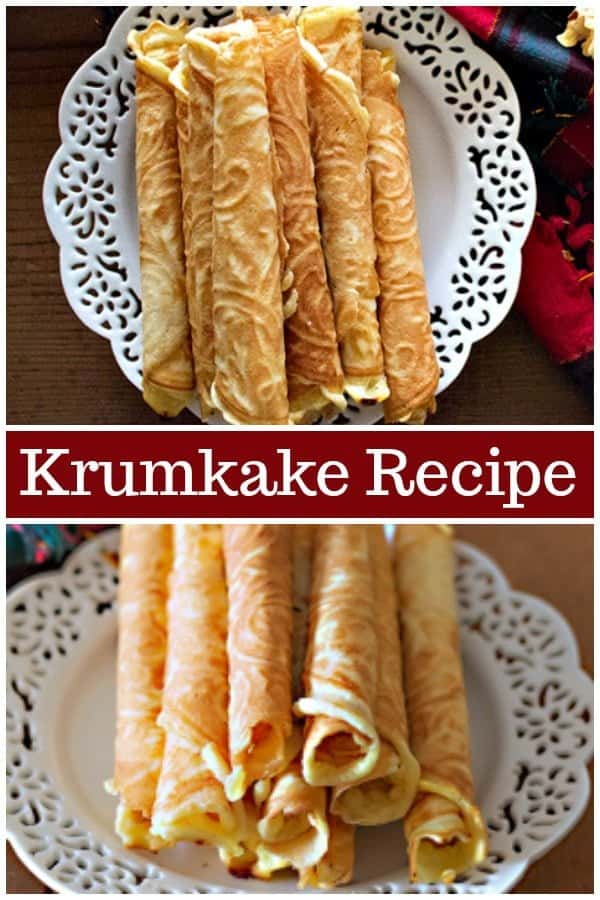
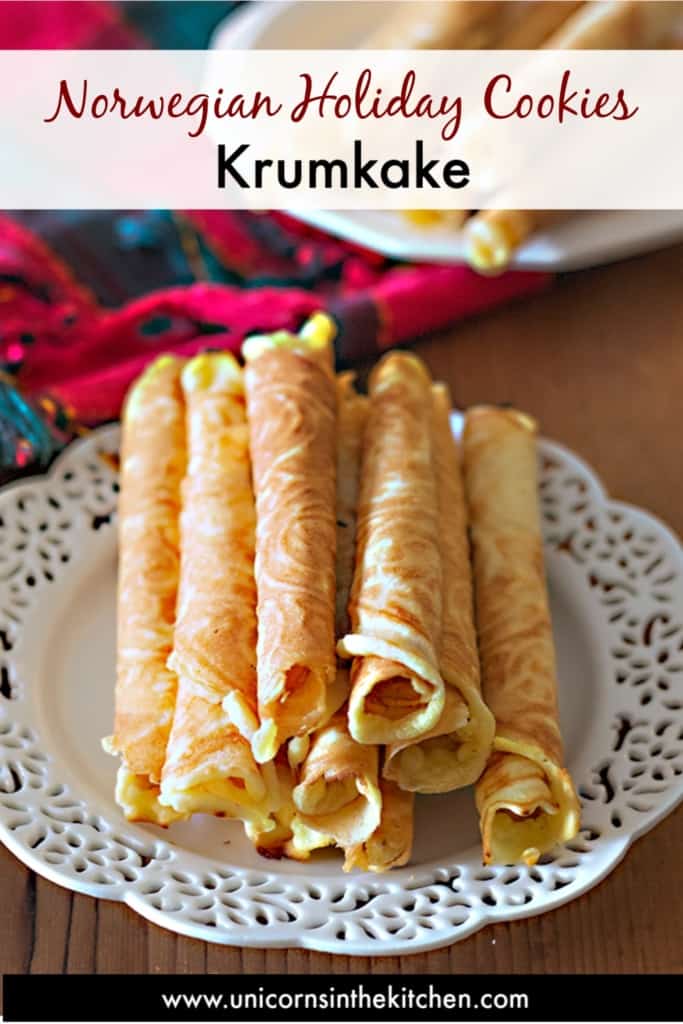
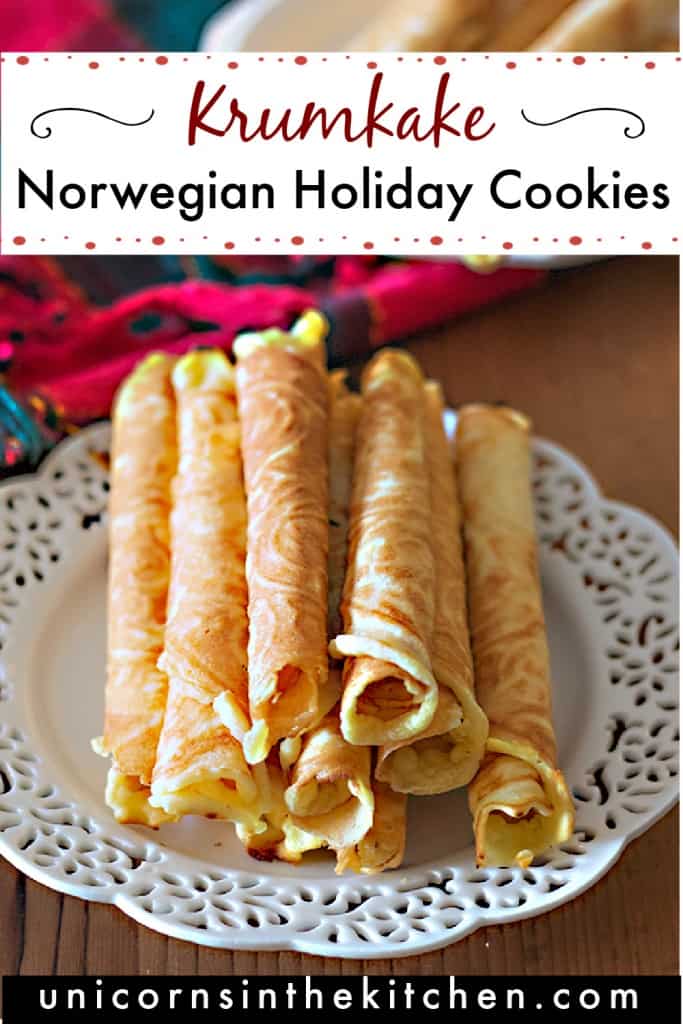
Krumkake (pronounced Kroom-ka-ka) is a classic Norwegian waffle cookie that literally means “curved cake”, probably because of its shape. The texture is similar to pizzelle or rosettes: crispy and delicate. These cookies are lightly sweetened and can be served plain or filled with whipped cream.
Krumkake Iron
What makes these cookies special is the molded griddle that they’re baked in. In the olden days, the iron molds were used over the stove and the cookies would be baked one by one.
However, these days you can find electric krumkake griddle online and in stores which are more convenient because they are non stick and you can make multiple cookies in one batch.
Krumkake Ingredients
- Eggs: It’s important to have the eggs at room temperature, therefore take the eggs out of the fridge 20 minutes prior to baking.
- Sugar: Regular granulated sugar works best in this recipe.
- Butter: You need melted butter for this recipe. Melt the butter in a saucepan or the microwave and let it come to room temperature before adding it to the batter.
- Flour: All purpose flour would work just fine for this recipe. This recipe does not call for any kind of leavening agents (i.e. baking powder or baking soda) therefore make sure you’re not using self-rising flour.
How To Make Krumkake
- Make the batter: Beat the eggs with sugar for about 5 minutes until light and creamy. Then add the melted butter and water and mix to combine. Lastly, add the flour and whisk until it’s fully incorporated and there are no lumps.
- Prepare the molded iron: Place the krumkake iron over medium heat, this would take about 3 to 5 minutes.
- Bake the cookies: Coat the inside mold with nonstick cooking spray and pour a heaping tablespoon of the batter in the middle of the iron. Close it and bake it over medium heat for 30 to 35 seconds, flip and bake the other side for another 35 seconds. Open the iron mold, remove the cookie and roll it immediately. Repeat with the remaining batter.
Tips To Make The Perfect Krumkake
- The batter: The secret the perfect Krumkake is for the batter to have the perfect consistency. I would say the consistency is like cake batter, maybe even a tad bit runnier.
- The iron: Whether using an old-fashioned iron or a modern electric one, you need to make sure that the batter wouldn’t stick. I find that coating the iron with a nonstick cooking spray helps a lot.
- Roll immediately: Krumkake dries very quickly therefore make sure to roll each cookie right away when it’s hot.
- Practice: It’s okay for the first few krumkaker to not be perfect, it takes a few tries to figure out the correct heat and timing. This recipe yields about 25-30 cookies so there will be enough batter to practice with!
Krumkake Filling
There are a couple of ways you can serve Norwegian krumkake. If you roll them into cones you can fill them with whipped cream and maybe dust them with powdered sugar. I usually roll them without a cone and serve them plain since that’s how my family likes these cookies.
Frequently Asked Questions
The iron is hot and ready when a drop of water sprinkled on the iron sizzles immediately.
Store the cookies in an airtight container at room temperature for up to 3 days.
Gluten free flour or almond flour will not work for this recipe.
You can place a krumkake cone (also available online) on the hot cookie and roll the cookie around it so it turns into a cone. I usually just roll them from one side to the other as shown in the photos.
Yes, make sure to carefully read the instructions that come with the iron. Each iron might provide different amount of heat which would also alter the timing.
More Christmas Cookie Recipes
Cookies and bars
The Best Oatmeal Walnut Cookies
Persian Recipes
Persian Raisin Cookies (Shirini Keshmeshi)
Turkish Recipes
Turkish Almond Cookies (Only 4 Ingredients!)
Did you make this recipe? I’d love to hear about it! Please comment and leave a 5-star🌟 rating below. You can also follow us on Instagram, Facebook, Pinterest or subscribe to our newsletter to get a free e-Cookbook!

Krumkake – Norwegian Holiday Cookies
Ingredients
- 4 eggs, room temperature
- 1 cup granulated sugar
- 3/4 cup unsalted butter, melted and at room temperature
- 6 tbsp cold water
- 1 1/2 cup all purpose flour
Instructions
- Beat the eggs and sugar using an electric mixer for 5 minutes until creamy and light.
- Add the melted butter and water. Mix again.
- Add the flour and mix until fully combined and no lumps left.
- Put the Krumkake iron over medium heat and let it get hot. This would take 3 to 5 minutes.
- Open the iron and coat it with non-stick spray.
- Pour a heaping tablespoon of the batter on the iron and close the iron. Let it cook for 35 seconds and then turn so the other side cooks for another 35 seconds too. Do not open the iron.
- Take the iron off the heat, open it and take the krumkake out of the pan, roll immediately as it dries right away. You can roll it around a cone or just as is, from one side to the other.
- Repeat with the remaining batter. Make sure to coat the iron with nonstick cooking spray every time before pouring the batter.
Video
Notes
- You can serve krumkake as is or fill it with whipped cream and dust with powdered sugar.
- The cooking time varies depending on the stove. It can be something between 35-45 second on each side.
- Make sure to coat the krumkake iron with non stick spray before making each cookie.
- If using an electric krumkake iron, read the package instructions carefully since the heat and timing would be different from the recipe.
- Store the cookies in an airtight container for up to 3 days.
- Gluten free flour or almond flour will not work for this recipe.
Nutrition
Nutrition information is automatically calculated, so should only be used as an approximation.




These cookies turned out so light and crispy!! They were sweet but not too sweet, and a fun treat to make with my kids this past weekend!
Love these cookies! It took some practice, but they finally came out perfect. Thank you!
I love these so much, but I never realized how easy they were to make! Delicate and crispy, they’re perfect for the holidays!
Loving how crispy these are. So fun to add to the cookie exchange we’re doing later this year!
This makes for such a sweet gift. Thanks!
Such a fun cookie! I’ve never heard of these but your description makes me want to add then our baking list this year. So excited to try them!
They are a delightful treat that I look forward to every holiday season. The thin, crispy texture and delicate flavor make them irresistible. I highly recommend trying these delicious cookies!
I can’t get enough of this incredible recipe! It’s like a flavor explosion in my mouth. Seriously tasty – I’m impressed!