This post may contain affiliate links.
This roasted garlic hummus is a garlic lover’s dream! It’s creamy, delicious and so easy to make, perfect as a dip or a healthy appetizer. This simple dip can be made with a handful of ingredients that you probably already have in your pantry.
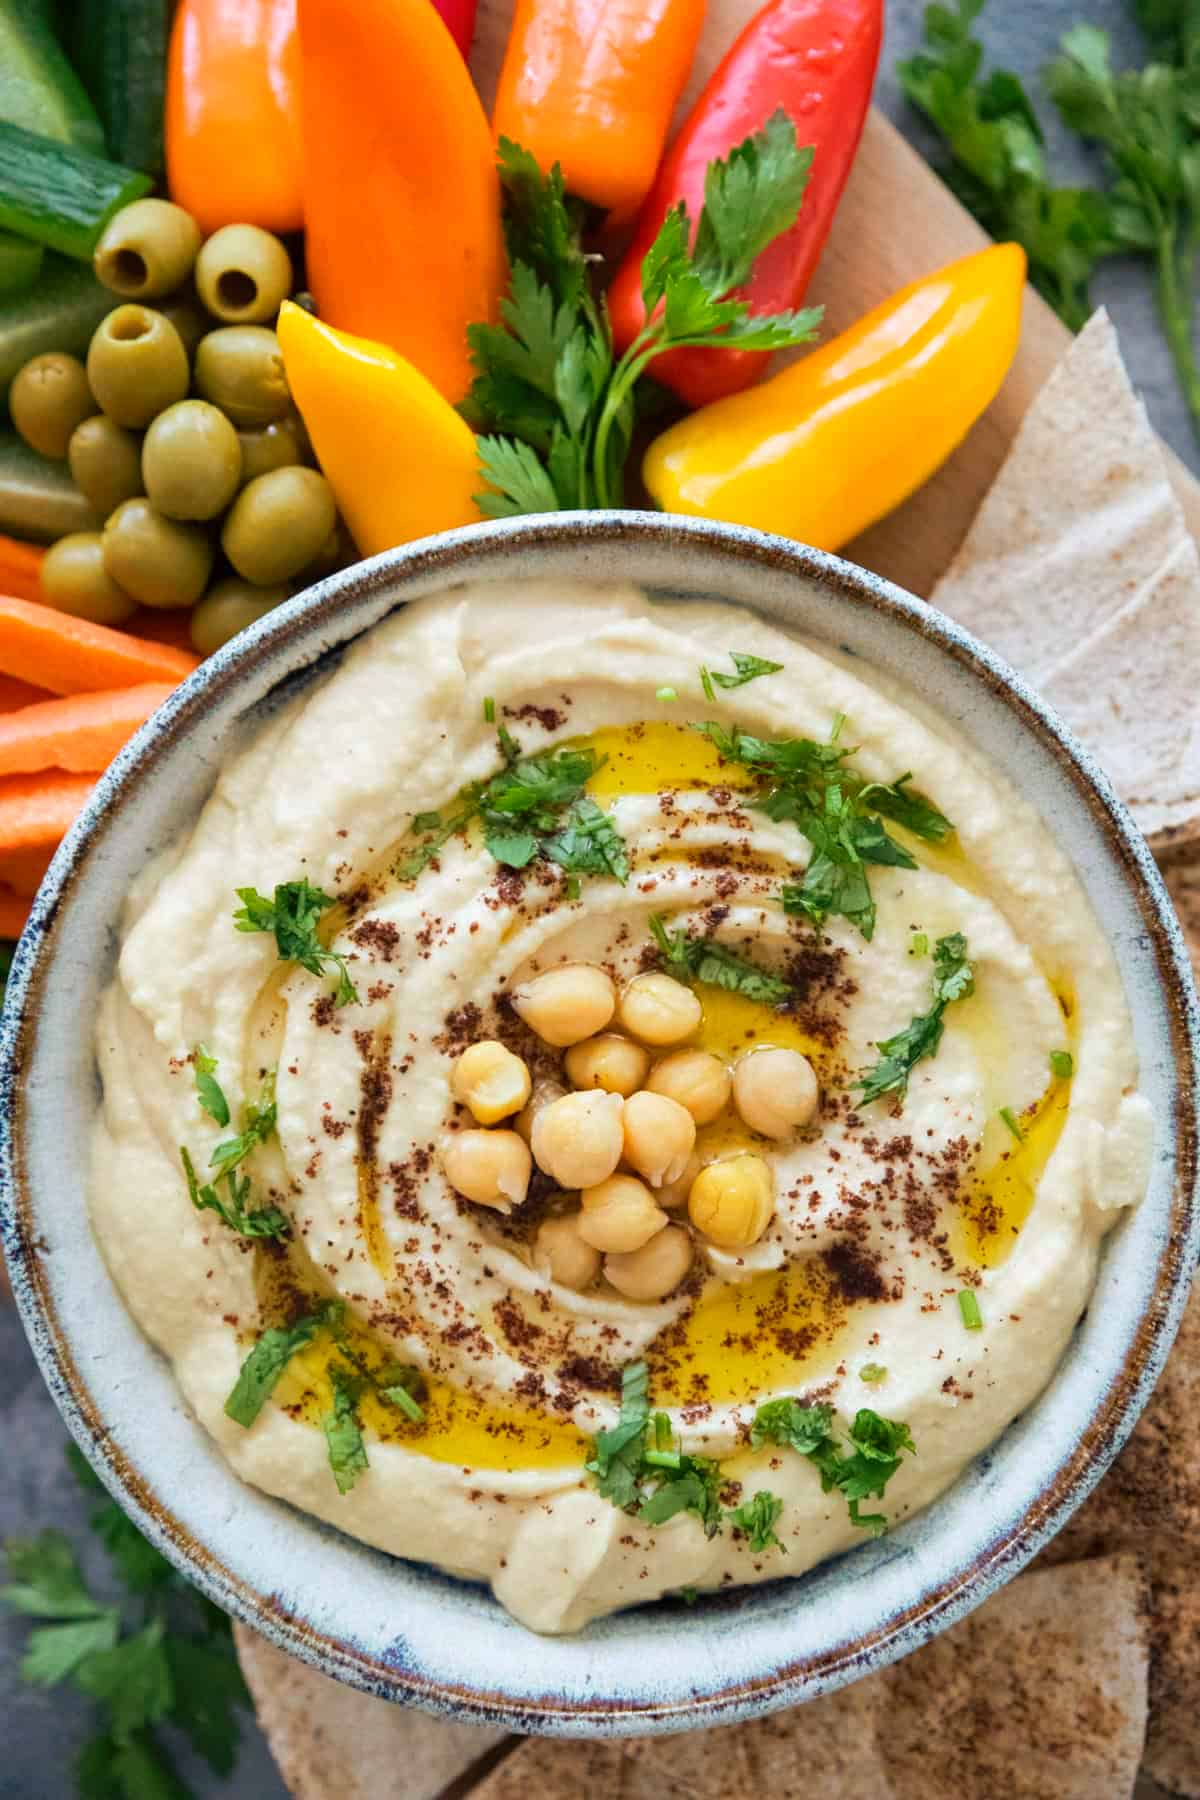
Nothing beats a creamy bowl of hummus with some hot pita! Whether it’s classic hummus, subtly sweet and smoky roasted red pepper hummus or harissa hummus with a good kick, I’m always ready to dig into hummus with some fluffy bread! Follow along as I’m going to show you how to make one of my favorite variations: roasted garlic hummus!
Table of Contents
Why You Should Try This Recipe
- Flavors: Roasted garlic is absolutely divine. It’s not as strong as raw garlic and adds such a nice subtle sweetness to this hummus.
- Healthy snack: Chickpeas are packed with protein and fiber and tahini is a good source for healthy fats, making hummus a healthy midday snack!
- Easy: Making hummus is so simple and once you start making it at home, you won’t go back to store-bought!
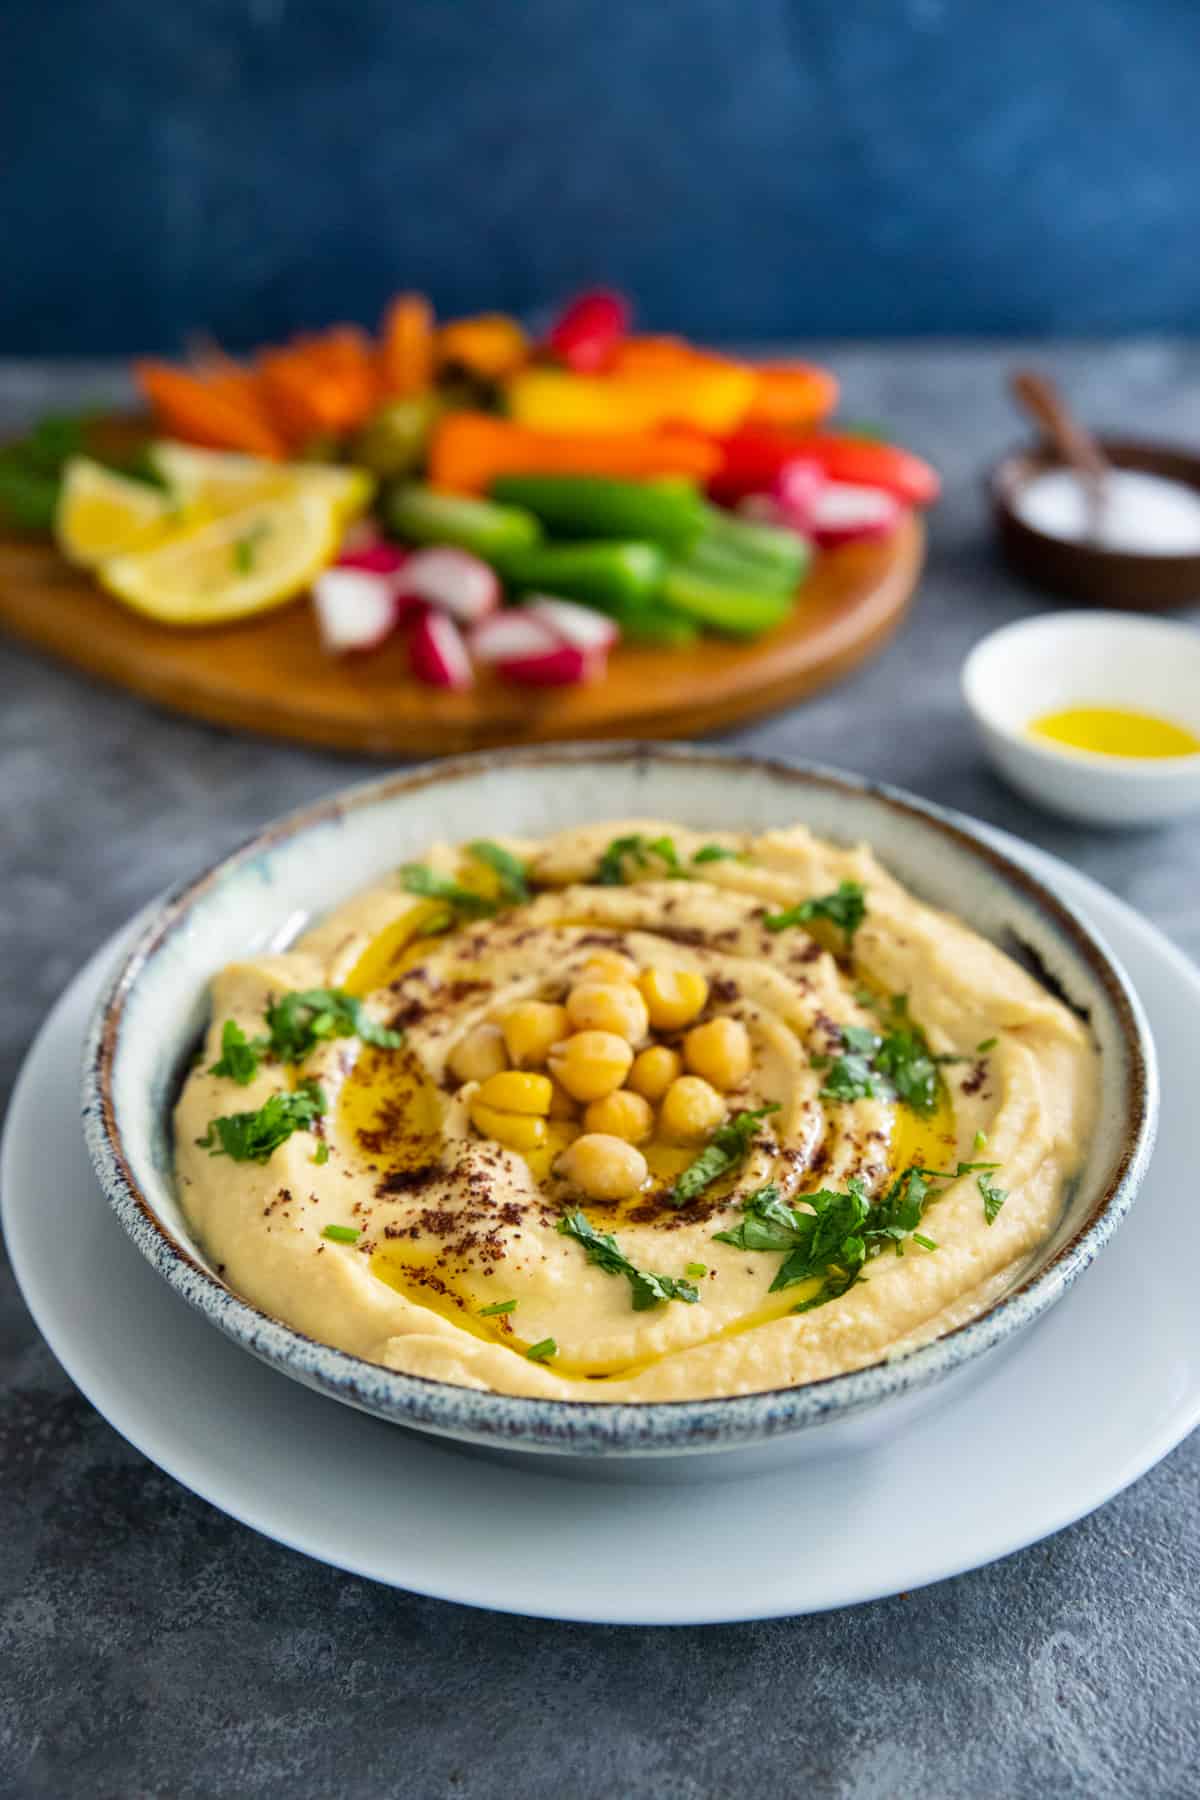
Ingredients
- Garlic: I’ve already included a complete tutorial on how to make roasted garlic. Once roasted, garlic is sweeter and not as strong. You can use up to 2 whole heads of garlic for this recipe.
- Chickpeas: You can either cook the chickpeas from scratch or use canned chickpeas. I usually boil the canned chickpeas for 20 minutes to make sure they are extra tender.
- Tahini: Creamy tahini is a must when it comes to hummus. I usually get mine from our local Middle Eastern shop.
- Lemon: Freshly squeezed lemon juice adds brightness to the hummus.
- Ice cubes: I always make hummus using a couple cubes of ice to make it extra creamy.
- Olive oil: My biggest tip is to use olive oil to top the hummus and not blend it with the rest of the ingredients. Blending olive oil into the chickpeas might make them a little bit bitter.
How To Make Roasted Garlic Hummus
- Preheat the oven to 400 degrees F. Slice the top of the garlic head so the cloves show. Place each head on a piece of aluminum foil and drizzle some olive oil on them. Wrap in the foil and place on a baking sheet. Roast in the oven for 35 to 45 minutes until the cloves are soft.
- Place the chickpeas (if using canned, make sure to drain them), tahini, lemon juice and salt in the bowl of a food processor. Squeeze the roasted garlic out and add it to the chickpeas.
- Blend on high and add the ice cubes one at a time until the dip is creamy.
- Spread in a bowl and top with olive oil and sumac if you desire.
Serving Suggestions
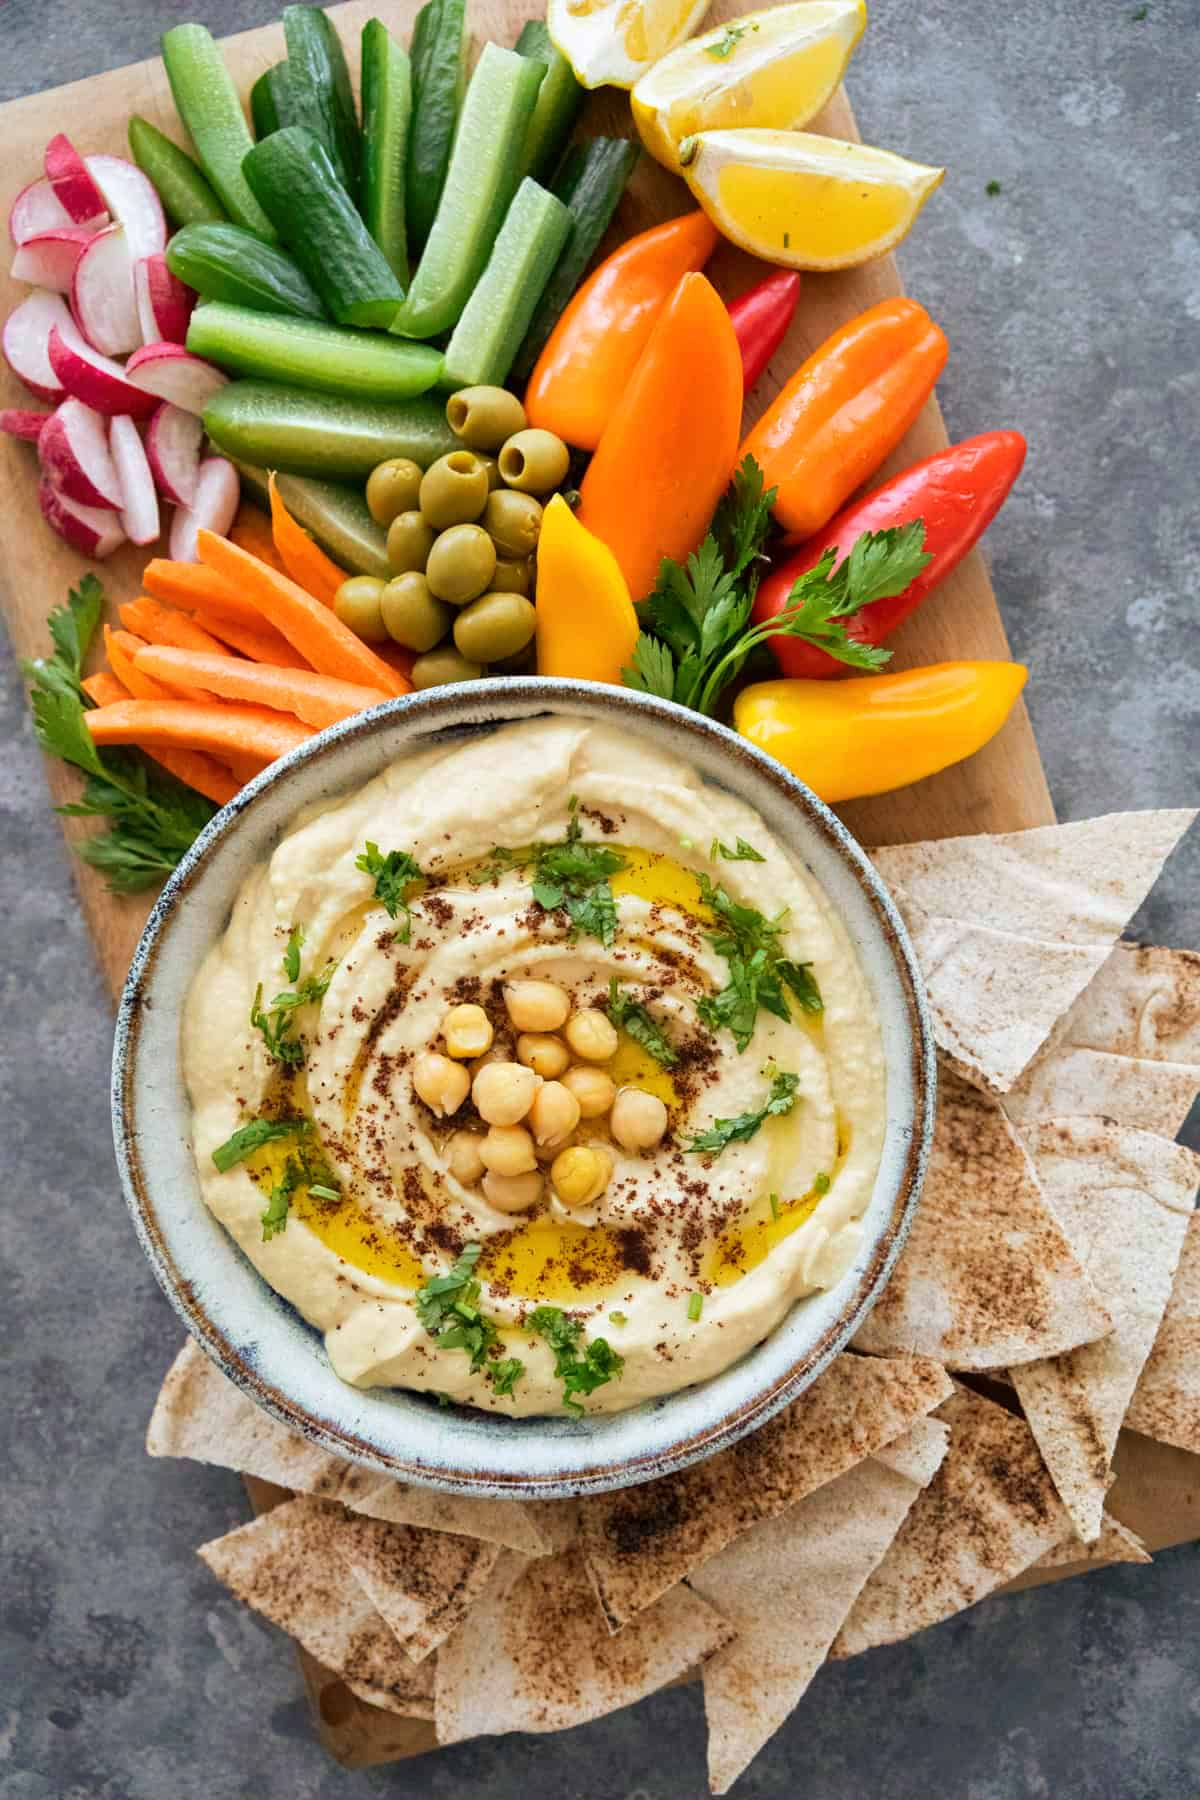
- Serve it as part of a mezze platter with some baba ganoush, muhammara and whipped feta alongside pita chips or pita bread.
- Use it as a spread in chicken shawarma or beef shawarma wrap with lavash.
Storing The Leftovers
Store the leftovers in an airtight container and refrigerate for up to 4 days. Stir well and top with more olive oil before serving.
You can also freeze hummus for up to 3 months. To serve, thaw in the fridge overnight. Add more lemon juice for fresh flavor and top with olive oil right before serving.
Frequently Asked Questions
I always recommend making hummus using dry chickpeas to get better flavor and smoother texture. However, it does take longer for the chickpeas to cook. If you have the time to cook chickpeas from scratch, I strongly recommend doing so.
There could be a few reasons for a grainy hummus. One is that the hummus wasn’t blended long enough or you might be needing another cube of ice. If using canned chickpeas, the hummus could be a bit grainy because they’re not as tender. I usually boil drain the chickpeas and boil them for 20 minutes before making hummus. This would make the chickpeas very tender.
Since the garlic is roasted for this recipe, the hummus is not going to have a strong garlicky flavor. It’s going to have a mellow garlic flavor with very slight sweetness.
More Dip And Spread Recipes
Mediterranean recipes
Homemade Pistachio Cream
Appetizers
Christmas Tree Cheese Ball
Appetizers
Borani Kadoo
Dips and Spreads
Greek Yogurt Avocado Dressing
Did you make this recipe? I’d love to hear about it! Please comment and leave a 5-star🌟 rating below. You can also follow us on Instagram, Facebook, Pinterest or subscribe to our newsletter to get a free e-Cookbook!

Roasted Garlic Hummus
Ingredients
- 2 heads garlic
- 4 tbsp olive oil
- 1 can chickpeas, 15 oz
- 3 tbsp tahini
- 1 tsp kosher salt
- 1 lemon , juice of
- 3 cubes ice
Instructions
- Preheat the oven to 400 degrees F. Cut the top part of the garlic heads so the cloves show. Place each head on a piece of aluminum foil and top with 1 tablespoon of olive oil. Reserve the remaining 2 tablespoons of olive oil for later.
- Wrap the garlic heads with aluminum foil, place them on a baking sheet and roast in the oven for 35 to 45 minutes until the cloves are tender.
- While the garlic is roasting, rinse and drain the chickpeas and place them in a small saucepan. Cover with water, bring to a boil and cook for 20 minutes. This step is optional, but it makes canned chickpea more tender which would result in creamier hummus.
- Place the chickpeas, tahini, salt and lemon juice in the bowl of a food processor. Squeeze out the garlic and add it to the chickpeas.
- Blend until mixed and smooth, adding the ice cubes one at a time.
- Spread the roasted garlic hummus in a bowl and top with 2 tablespoons olive oil and sumac if desired.
Notes
- You can cook dry chickpeas instead of using canned chickpeas to make hummus. They take longer to cook so plan accordingly.
- Roasted garlic has a subtle sweet flavor and is not as strong, therefore this dip doesn’t taste garlicky.
- Store the leftovers in an airtight container and refrigerate for up to 4 days. To serve, top with more olive oil.
Nutrition
Nutrition information is automatically calculated, so should only be used as an approximation.



This roasted garlic hummus looks fantastic. I love the flavor. Thanks for sharing.
Creamy, delicious and full of garlic, this hummus is perfect for me. Can’t wait to make it.
What a great hummus recipe! Using roasted garlic takes hummus to a whole new level.
Love this Roasted Garlic Hummus recipe never seen the ice cubes in any other, good to know and looks delicious, will make it soon. Thanks for sharing 🙂