This post may contain affiliate links.
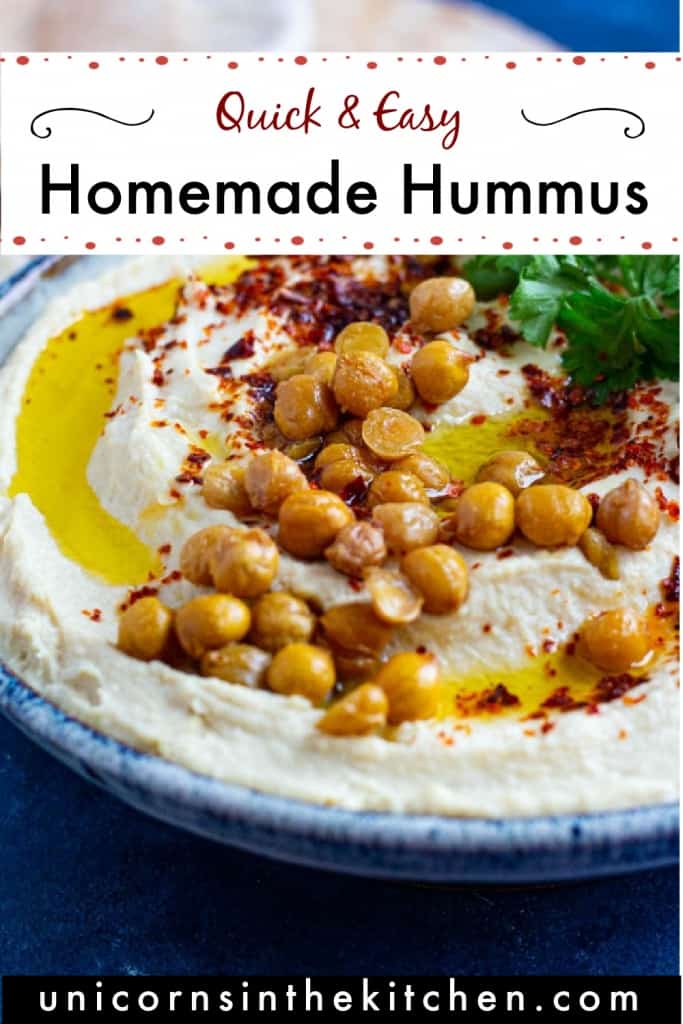
This is the ultimate homemade hummus recipe. It’s smooth and creamy with a bright flavor, and pairs perfectly with bread! Follow along for tip and tricks, a video tutorial and complete details!
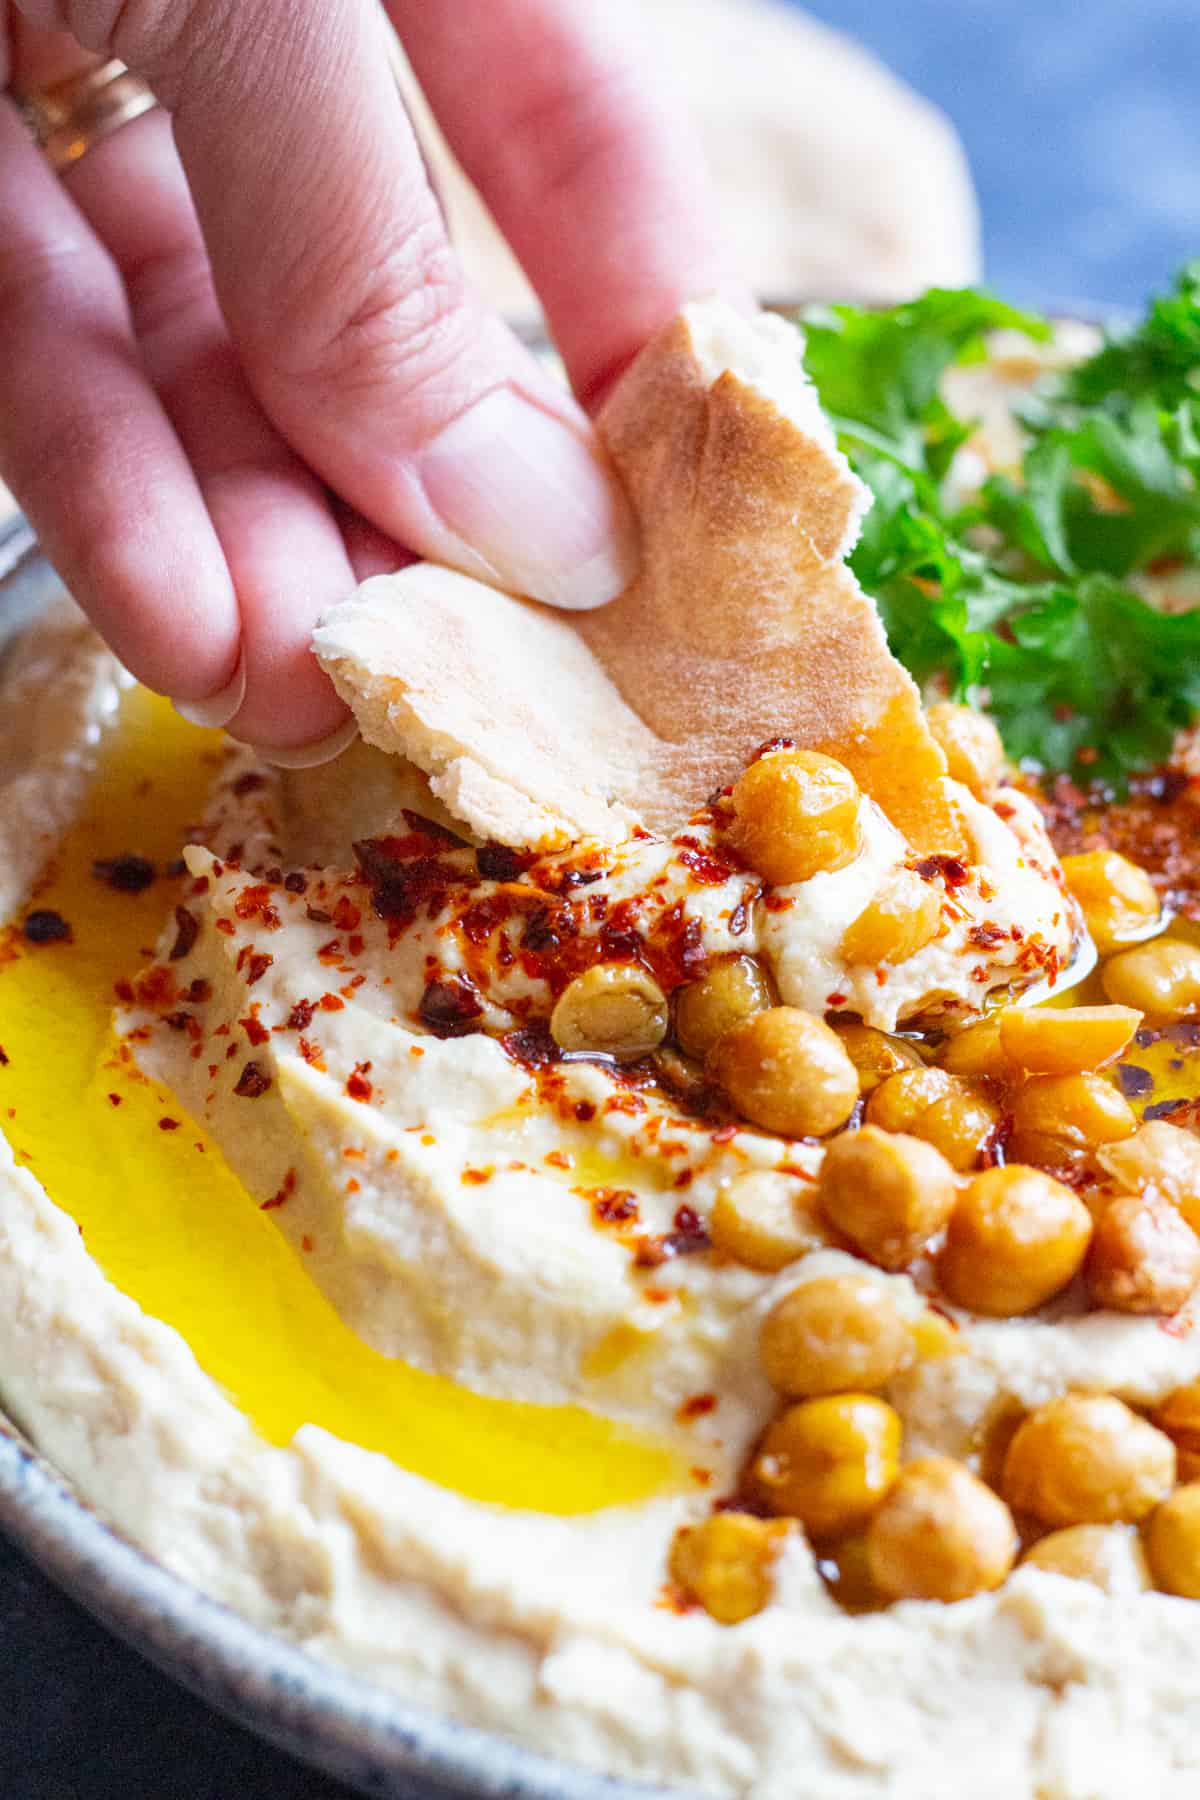
Very few things are better than a bowl of homemade hummus, served with pita chips or warm fresh pita on a mezze platter. Sounds like a foodie heaven, right? Hummus is a healthy vegan snack that’s packed with protein. You can make a batch and enjoy it through the week.
Table of Contents
All About Hummus
One of the basics of Middle Eastern cuisine, hummus (literally meaning “chickpeas”) is a common addition to an appetizer spread or as a side with many dishes. These days there are different variations and flavors of this creamy chickpea dip such as harissa, roasted garlic and roasted red pepper. You should check out our loaded hummus, it’s so good!
Hummus is a staple at any Middle Eastern table. Usually paired with pita and other dips such as mutabal, labneh or baba ganoush, this classic chickpea dip is everyone’s favorite.
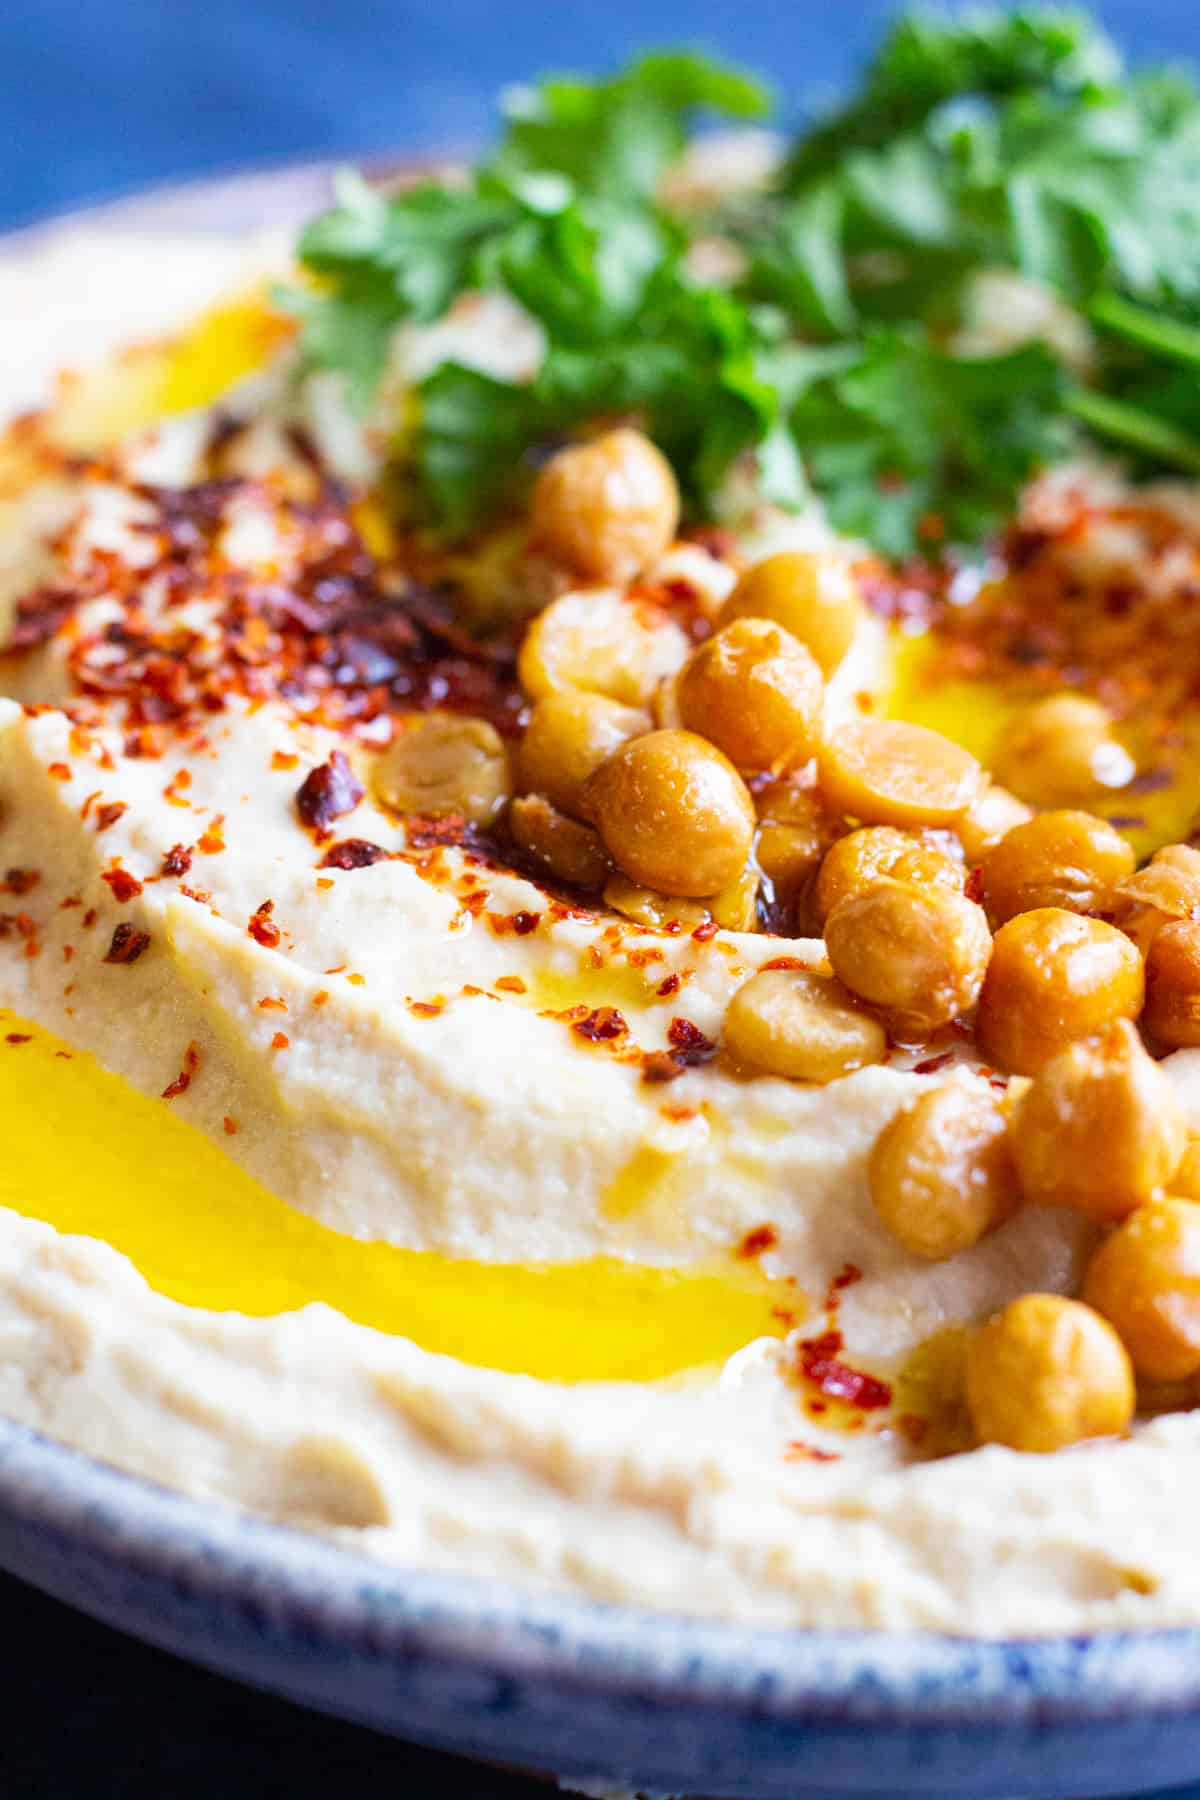
I’m going to show you how to make the best ever hummus at home that’s creamy, velvety and smooth made with simple ingredients. And, making it from scratch is much easier than you think. Make sure to read through for a complete tutorial, notes and tips and a how-to video!
Hummus Ingredients
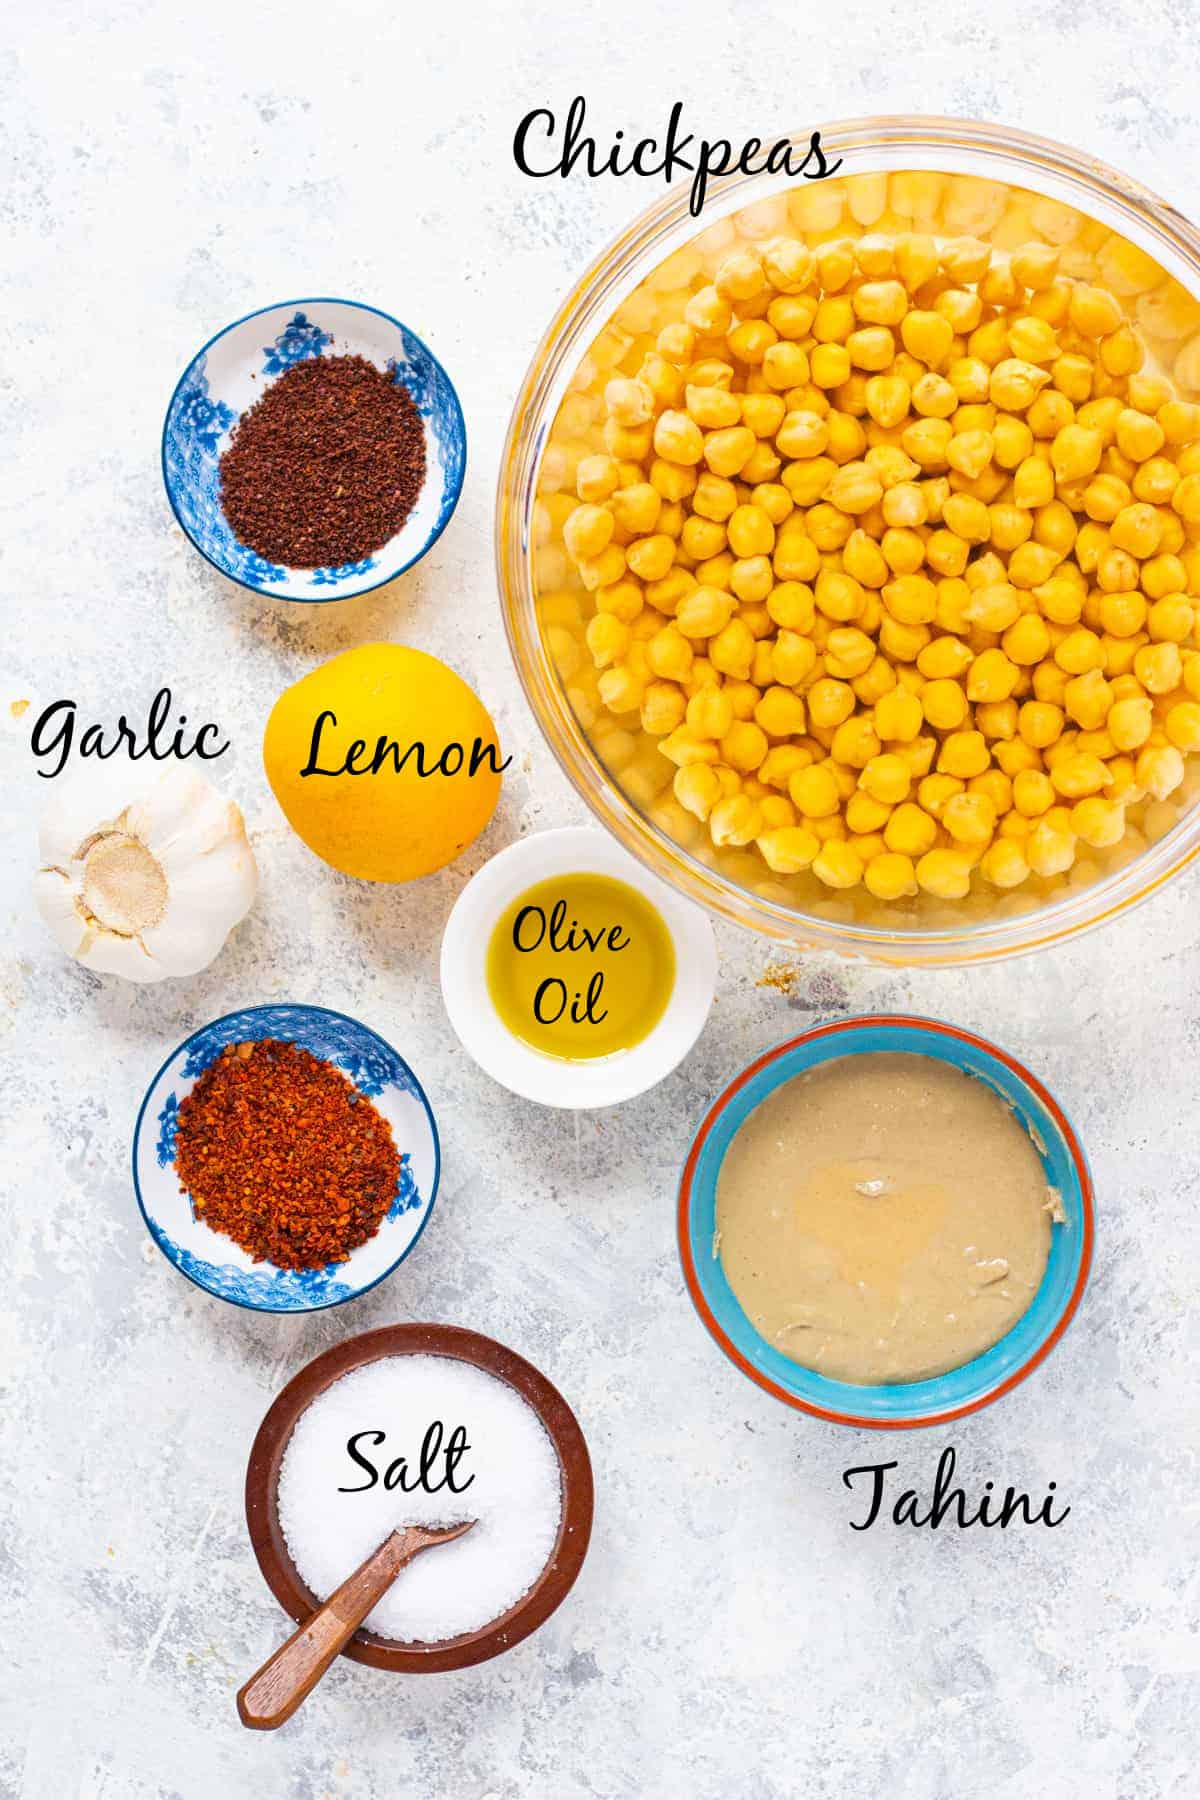
- Chickpeas: Also known as garbanzo beans, these are the most important part of this recipe. Many recipes call for canned chickpeas, however, I prefer cooking chickpeas from scratch for the perfect hummus. If using canned chickpeas, drain them and boil them for 20 minutes.
- Tahini: Having a jar of good quality tahini at home is probably one of the basics of Mediterranean and Middle Eastern cooking. You can use homemade tahini or purchase it at any major supermarket or at your local Middle Eastern shop.
- Olive oil: Topping the hummus with extra virgin olive oil would add such earthiness and great flavor. Read more about how to choose the right olive oil as it is one of the most important ingredients in Mediterranean diet.
- Lemon juice: The juice of half a lemon (or even a full one) gives this dish such great brightness and freshness. It’s best to use fresh lemon juice, but if bottled is what you have at hand now, it’s absolutely fine.
- Garlic: You only need a few cloves of garlic for this recipe so it adds a subtle flavor. You can also leave it out if you’re not a fan but I wouldn’t. I don’t recommend using jarred minced garlic or garlic powder.
Canned Chickpeas VS Cooking From Scratch
There are two different approaches to making hummus:
1- Using canned chickpeas
A convenient and quick way to make this dip at home. Using canned chickpeas makes the process simpler and quicker. If you’re in a pinch, boil canned chickpeas in some water for about 20 minutes. This will make them more tender and will result in a creamier hummus.
Some suggest peeling the chickpeas before blending them. I’ve tried this method and while this approach definitely yields a creamier texture, it’s quite time consuming and involves a lot of hands-on preparation.
2- Cooking chickpeas from scratch
This method undoubtedly results in the creamiest hummus you’ve ever tasted and requires minimal hands-on time. Chickpeas are soaked in water overnight and then cooked with water and baking soda. The peels float on the surface and you can easily discard them before draining the water. The chickpeas will be exceptionally soft and tender, giving you the smoothest vegan chickpea dip.
How To Make Hummus
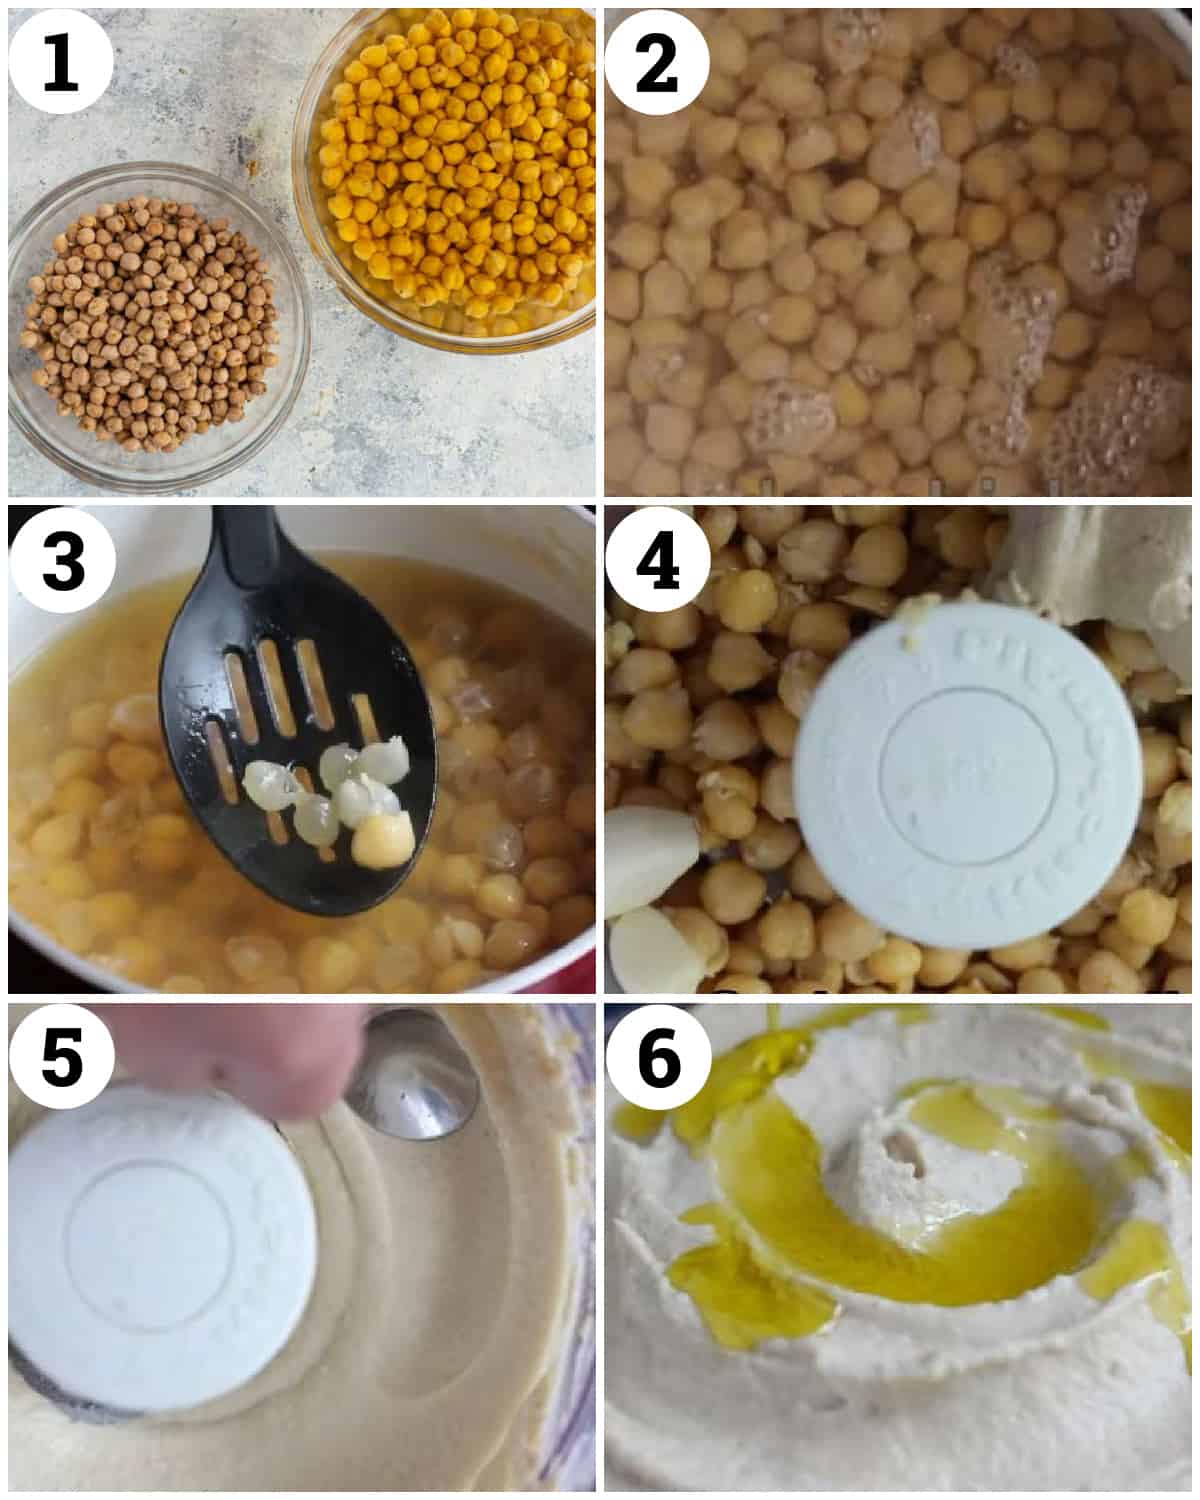
- Soak the chickpeas: Fill a large bowl with cold water. Measure one cup of dry chickpeas and add them to the water. Cover and soak for 12 hours or overnight. Make sure your bowl is large enough since the chickpeas will increase in size when soaked.
- Cook the chickpeas: Fill a pot with water and place it on high heat. Once the water comes to a boil, add 1 teaspoon baking soda and the chickpeas. Cook for about 30 minute until the chickpeas are fully cooked and soft. Most of the skins will start floating on the surface, discard them as they come up. Rinse the chickpeas and set them aside to cool.
- Make the hummus: In the bowl of a food processor, place the chickpeas, garlic and tahini. Blend until the chickpeas are coarse, which should take about a minute. Then add some water, salt and lemon juice. Blend until smooth and creamy, about 5 minutes.
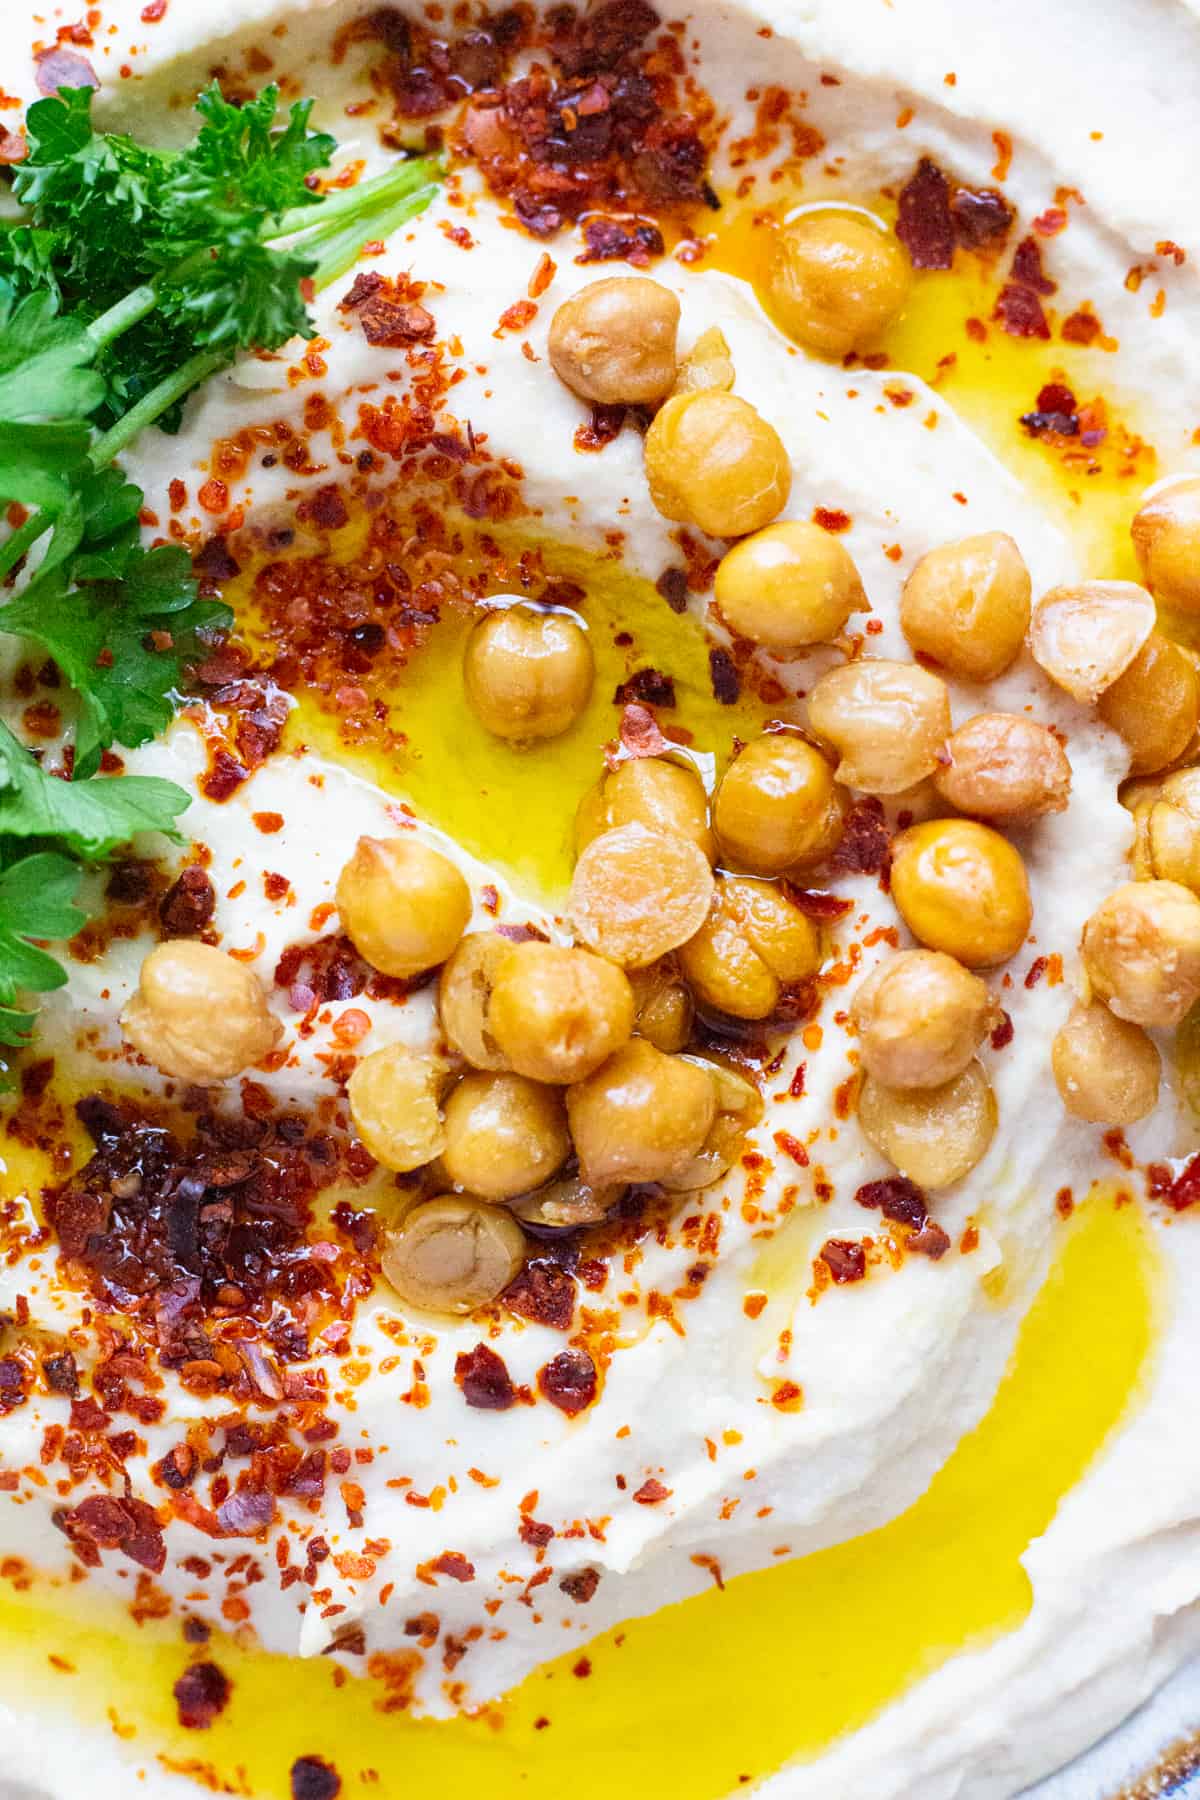
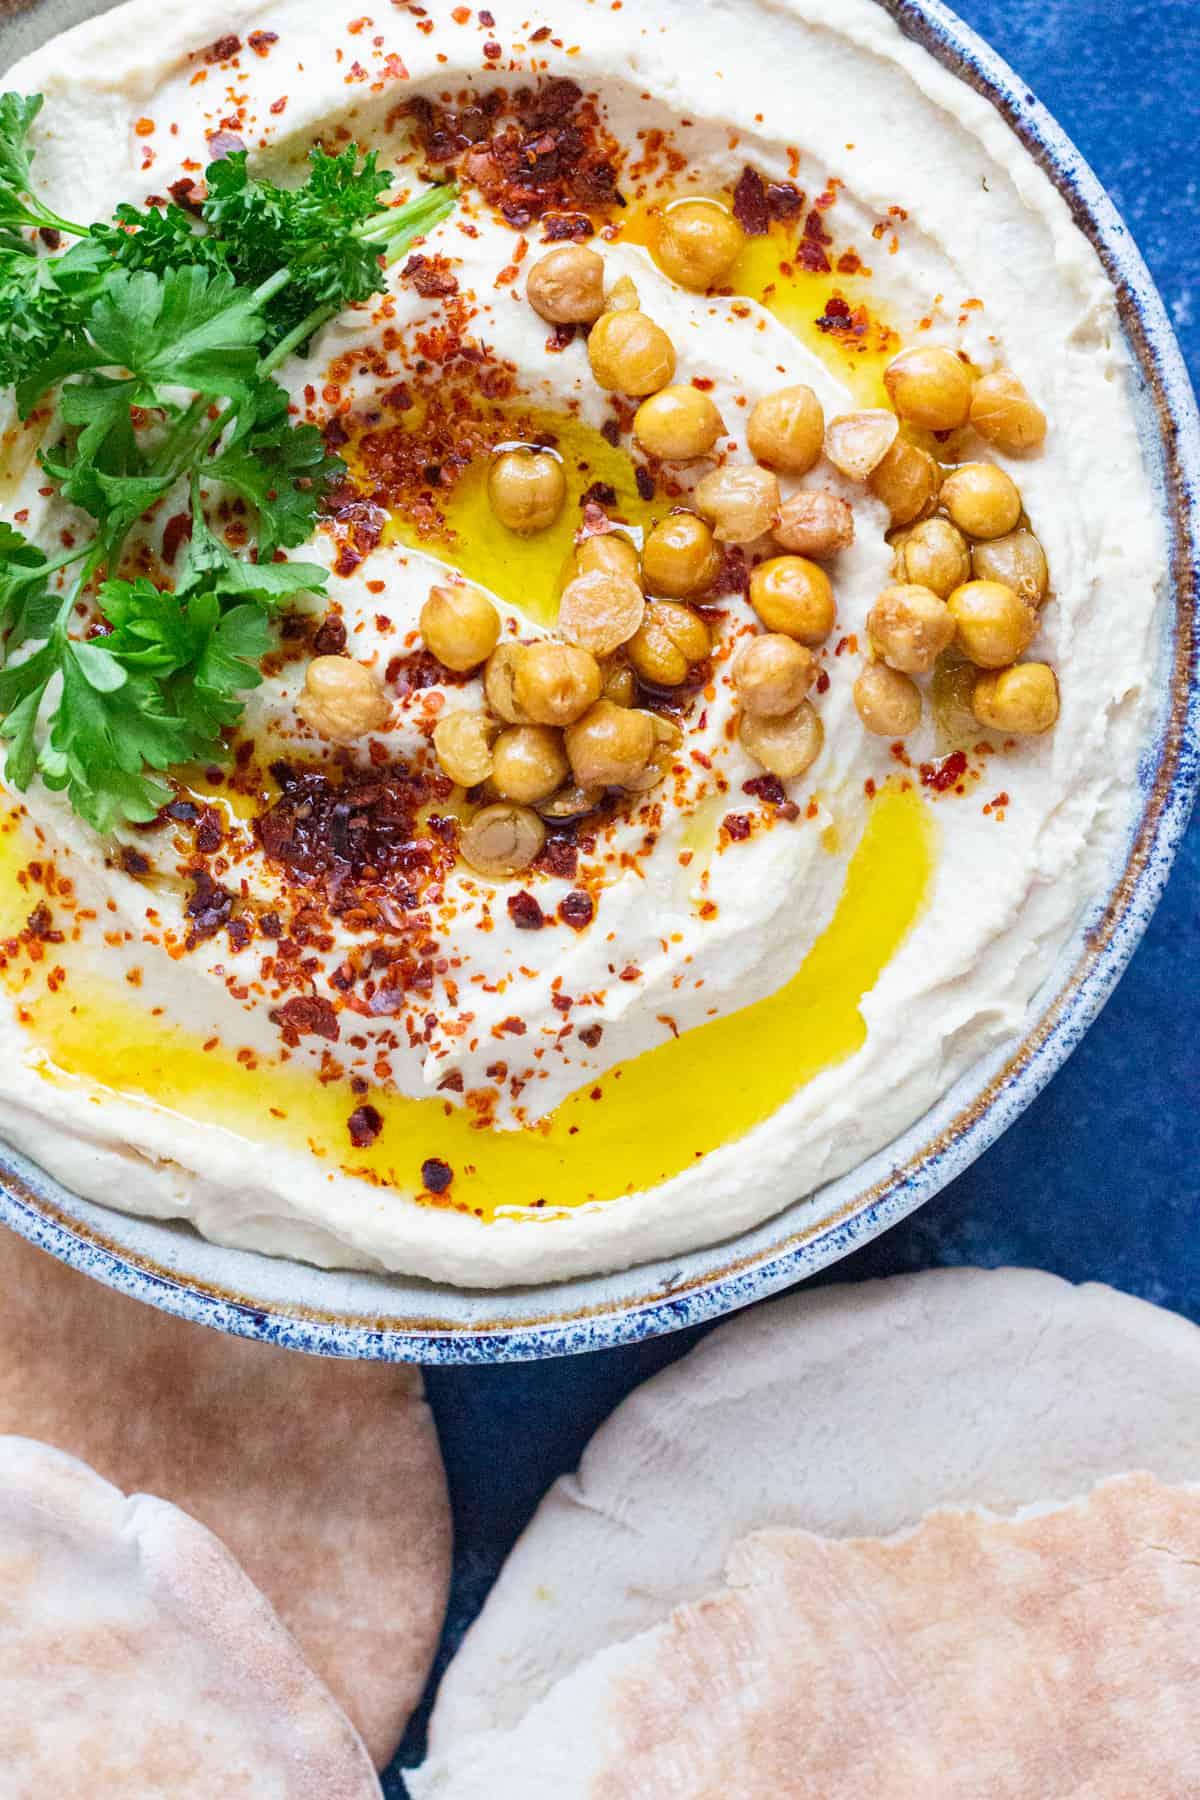
- Finishing touches: When your hummus is ready, transfer it to a bowl and swirls a spoon on top to make a shallow well. Drizzle with a generous amount of olive oil and top with some sumac and Aleppo pepper if desired.
Pro tip: If you like your hummus to be smoother and thinner, add more water one tablespoon at a time and blend again.
The Texture And Consistency
The perfect hummus should be smooth and spreadable. It shouldn’t be runny and you should be able to leave a mark on it by moving your spoon in swirls.
To get to that consistency, 3 tablespoons of water should be enough. But once it’s ready, taste and try it to make sure it has enough salt and lemon juice and check that the consistency is what you’re looking for.
Serving Suggestion
A bowl of homemade hummus is a great addition to a mezze platter alongside some baba ganoush, muhammara, labneh, roasted vegetables and authentic dolma and other appetizers. Serve with some homemade pita chips, or fresh veggies such as cucumbers, cauliflower, carrots and celery.
In addition to being a wonderful mezze and snack, hummus can be used as a spread for sandwiches. Simply spread some on a piece of bread such as lavash and then top it with your favorite veggies and protein such as zaatar chicken or garlic chicken for a delicious, healthy sandwich.
Did I tell you you can also use it on pizza? Simply spread it on this Mediterranean pizza before adding the toppings!
It also goes very well with many Middle Eastern and Mediterranean dishes such as shish tawook, beef shish kabob and chicken shawarma as a spread or side dish.
Frequently Asked Questions
Hummus keeps well in the fridge for about a week if stored in an airtight container. Give it a nice stir and top with some olive oil to give it a fresh flavor right before serving.
Yes. Transfer it to an airtight container or a freezer bag and seal. Freeze for up to 3 months. To thaw and serve, place the frozen hummus container in the fridge overnight to thaw (it might take up to a day). And, right before serving, stir it very well and top with some extra virgin olive oil and sumac.
While the chickpeas are still blending, slowly add some water, one tablespoon at a time to get the desired consistency.
As I mentioned above, when using canned chickpeas, peeling them would give you creamier hummus, but it’s also very time consuming. You can simply boil the chickpeas for 30 minutes and skip peeling.
While dry beans give you the creamiest dip, it’s also possible to make hummus with canned beans. It’s best to boil canned chickpeas for 15 to 20 minutes prior so they’re very tender.
You’ll Enjoy: More Dip Recipes
Dips and Spreads
Ajvar Recipe (Balkan Roasted Red Pepper Relish)
Persian Recipes
Persian Yogurt Beet Dip (Borani Laboo)
Turkish Recipes
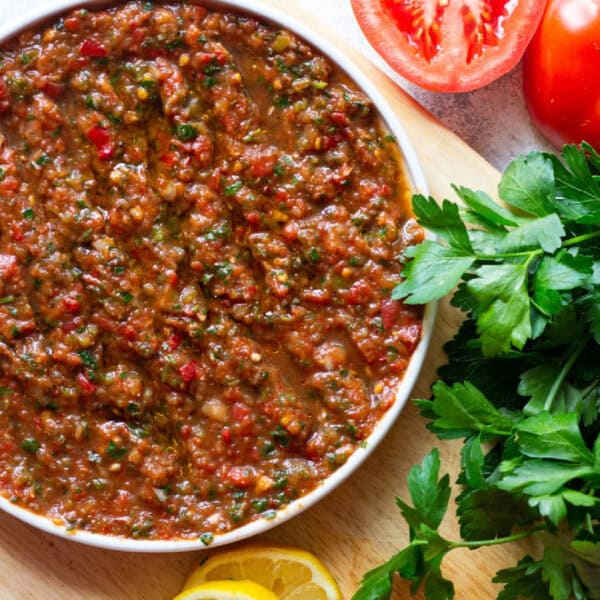
Turkish Ezme Recipe
Dips and Spreads
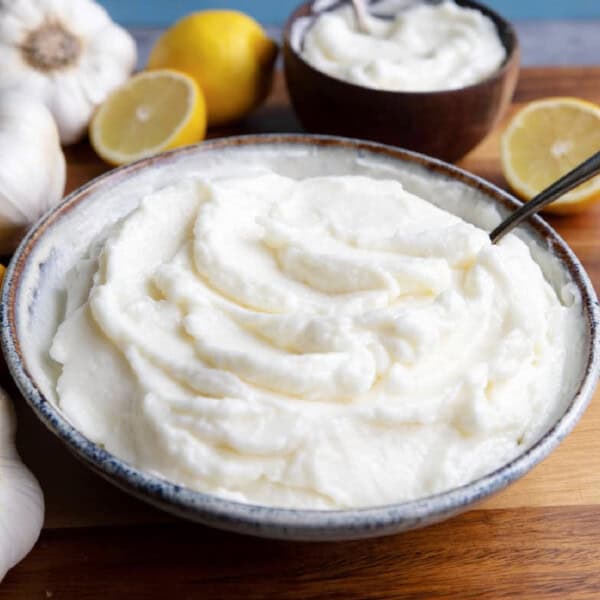
Toum Recipe – Lebanese Garlic Sauce
Did you make this recipe? I’d love to hear about it! Please comment and leave a 5-star🌟 rating below. You can also follow us on Instagram, Facebook, Pinterest or subscribe to our newsletter to get a free e-Cookbook!

Hummus Recipe
Ingredients
- 1 cup dry chickpeas
- 1 tsp baking soda
- 2 cloves garlic
- 1/3 cup tahini
- 3 tbsp cold water
- 1/2 tsp salt
- 2 tbsp lemon juice
- 2 tbsp olive oil, extra virgin
Instructions
- Place the chickpeas in a large bowl and fill the bowl with cold water. Let it soak at room temperature for 12 hours or overnight.
- Fill a pot with water and place it over high heat. Cover and bring the water to boil.
- Drain the chickpeas and add them to the boiling water with 1 tsp baking soda.
- Boil for about 30 minutes until the chickpeas are cooked and soft. The skin will start floating on the surface as it cooks. Discard the skins as they float.
- Drain the chickpeas and let them cool.
- Once the chickpeas are cool, place them in the bowl of a food processor with garlic and tahini. Blend for about one minute until chickpeas are coarse.
- Add in the water, salt and lemon juice. Blend until completely smooth and creamy. This would take about four minutes of blending.
- Transfer the hummus to a serving bowl and spread it using a spoon. Drizzle generously with extra virgin olive oil and top with Aleppo pepper and sumac if desired.
Video
Notes
- Hummus should be smooth and creamy but not runny. Once the blending is done, check it and add one more tablespoon of cold water if needed.
- While using dry beans gives you the creamiest hummus, it’s also possible to make it with canned beans. The directions are exactly the same, simply boil the canned chickpeas in water for 20 minutes.
- If you’re looking for a quick spicy hummus recipe, check out our harissa hummus recipe.
- It’s best to cover and let this dip chill in the fridge for at least one hour before serving.
- Freezing instructions: Transfer the hummus to a freezer bag or container and freeze for up to 3 months. To use, thaw in the fridge overnight and transfer to a bowl, stir well and add a splash of extra virgin olive oil for fresh flavor. Serve with pita.
Nutrition
Nutrition information is automatically calculated, so should only be used as an approximation.




Can’t believe how delicious this homemade hummus was! It was so easy too. Thank you for such great information! Will make again.
This hummus looks so smooth and creamy. It’s a perfect hummus for snacking.
great tip to cook the beans again! love how creamy it gets this way
I love homemade hummus, but never tried with cooking chickpeas vs. canned. Can’t wait to taste the difference!
I usually don’t add baking soda, but turns out, adding baking soda makes it super easy to peel the chickpea skins. I’ll be using this trick from now on.
I have never tried to make hummus from scratch, but I definitely will be this weekend after reading this! Thanks for the tip on boiling the chickpeas instead of wasting time peeling them!